So my father is a cardiologist who is also a geek, so I thought I’d make him something special this year for Christmas.
An iPhone stethoscope!
So, this is actually a very simple project, but it did take me a surprisingly long time to figure out because of the way Apple maps the pins of their connectors.
Physical Design
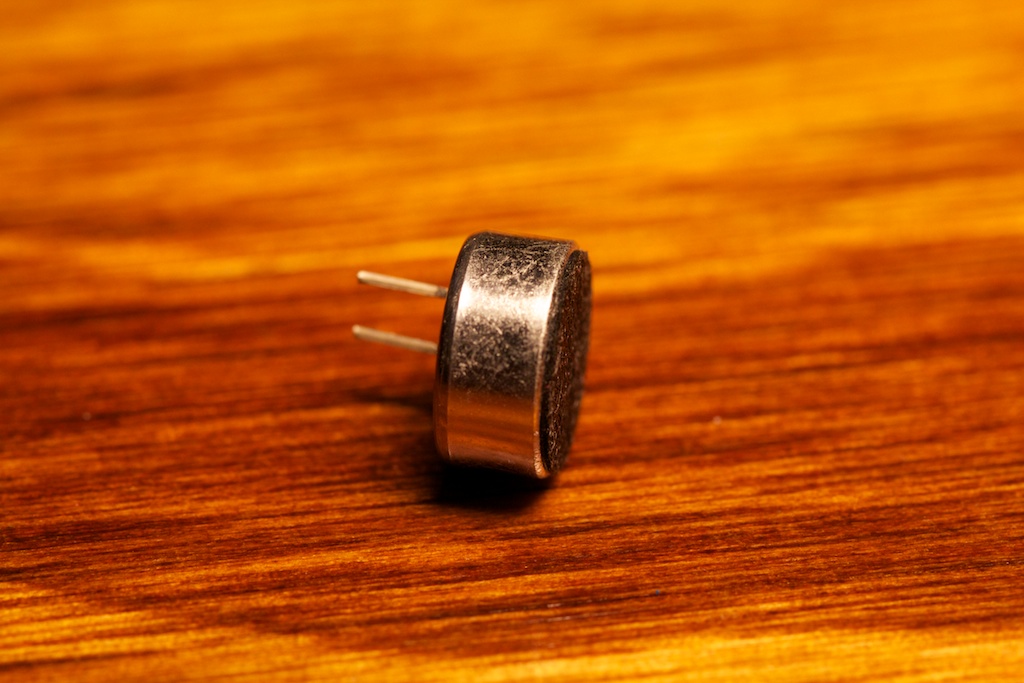
The physical design of this thing basically consisted of a regular stethoscope and a microphone.

Apple devices like 2.2kOhm, -44dBV microphones.
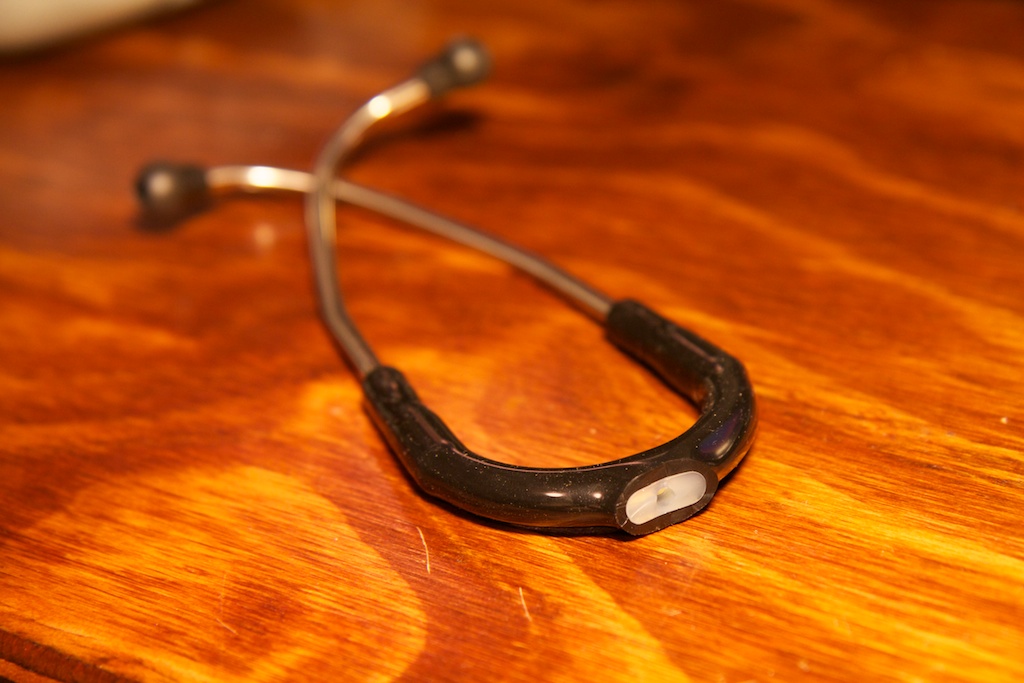
Here’s the top part of the stethoscope. There was a soft rubbery outer shell filled with a slightly more rigid semi-translucent inner material. The inner material is presumably just to keep the earpieces rigidly held together as it ended right as the stethoscope hose began. Cutting the hose right at this point let me squeeze the microphone into the hose at the point where it was widening and secure it with silicone sealant:
I wanted this thing to look professional (if it had any chance of being used in an actual doctor’s office), so I gave it the special ch00ftech seal.
Alright, so it didn’t come out perfect, but I still think it’s cool.
Electrical Design
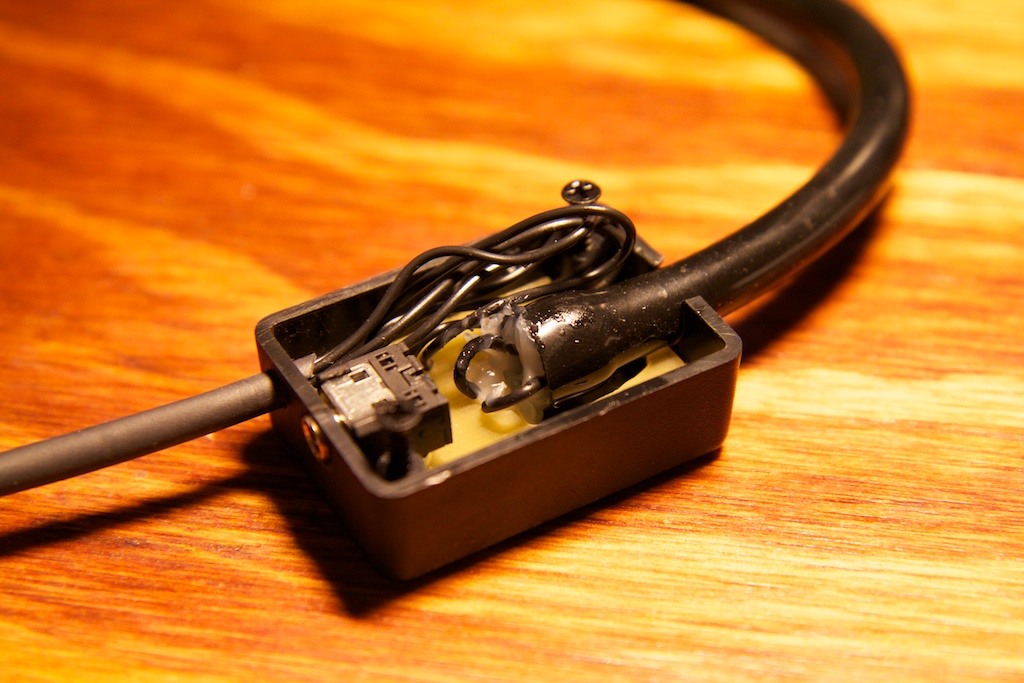
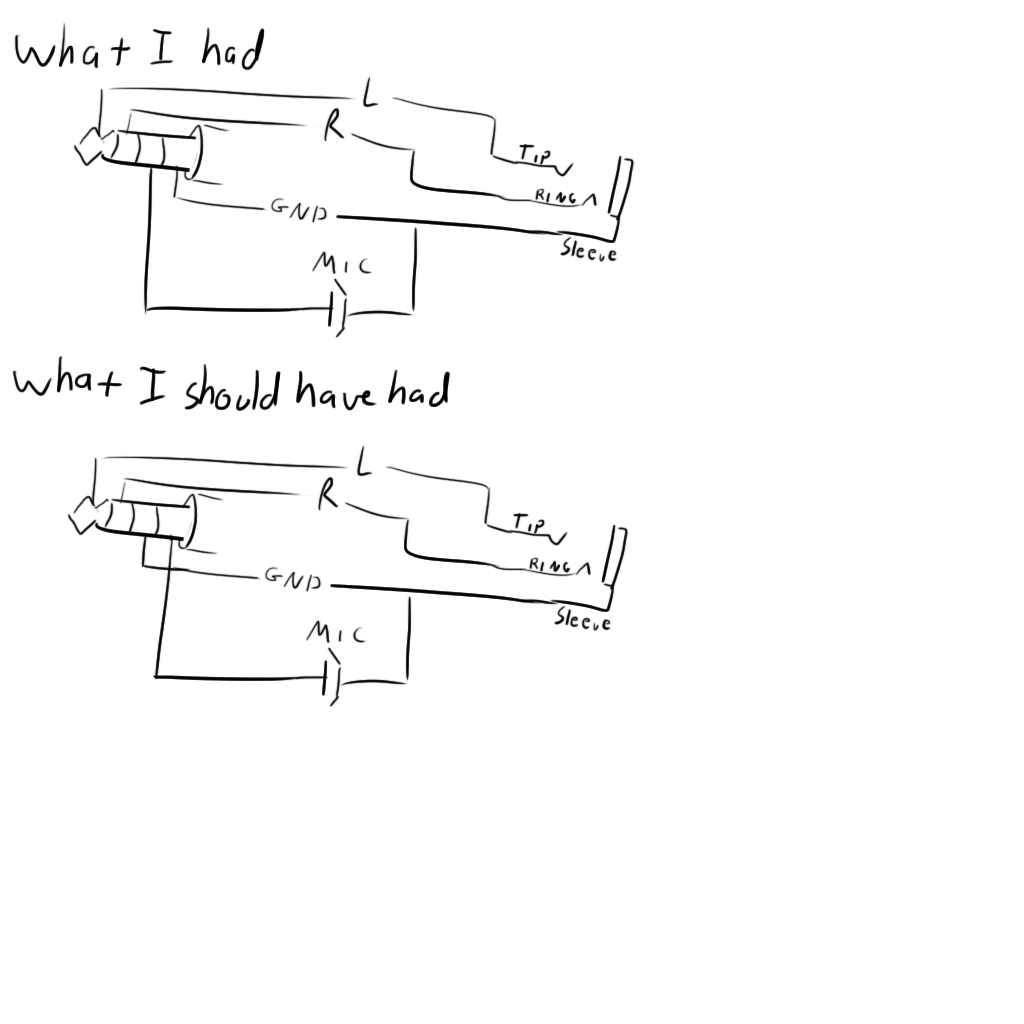
The Apple headphone jack has four connections: two for left and right audio, one for microphone, and one for ground. The connector is called a Tip-Ring-Ring-Sleeve connector (TRRS) as opposed to the typical TRS you see in a normal pair of headphones. The idea is that if you plug a normal TRS connector into a TRRS jack, the sleeve of your plug shorts the sleeve and second ring together basically turning it back into a TRS jack. I had to buy one special from Digikey.
Now, typically with TRS connectors, the tip is left audio, the ring is right audio, and the sleeve is ground. This makes sense because the sleeve will run outside of the other wires and is usually connected to some kind of mesh that shields the other conductors from unwanted electrical interference. Because of this, I assumed that the sleeve was also the ground here. I connected the tip and first ring to the left and right channels of a TRS jack (for the user’s headphones) and the sleeve to ground. Ground was also connected to the ground of the microphone. The second ring was connected to the microphone’s positive output.
When I tried this out, the microphone wasn’t working. I figured I had the mic backwards and rotated it around, and it worked!
Now here’s the really funny bit. I couldn’t find my headphones during testing, so I was just trying it out with the headphones disconnected and playing the audio back on my PC speakers. When I finally found my headphones, I noticed that regardless of whether or not the iPod was recording, I could hear audio from the microphone coming through my headphones. This is when I figured out what I was doing wrong.
So I was using the microphone as the headphone ground. With the headphone ground bouncing around, I was picking it up as audio in my headphones. Well, anywho, with all of that fixed, I was done. Seems kind of silly to use the sleeve as the microphone output, but what do I know…
Performance
The stethoscope works surprisingly well! You just have to find the right app. Apple’s voice recorder app is meant for just that and does a terrible job. I believe it adds some kind of filtering that is meant to cut out all frequencies outside of the typical speech band.
I got pretty good performance using the iStethoscope app which is really meant to use the iPhone 4’s internal microphone, but can also accept audio from external sources. Here’s a video showing it off:
There is an odd popping that you hear from time to time, and I’m not certain what’s causing that. I think it might have something to do with the audio processing going on in the app, but it’s still very very useable.
So there it is. I wonder how many other cool microphone-based devices you can make for iPhone…


very cool project! love the write up, keep em coming