So, my attempt at make home-brew etchant before was a miserable failure, but I think I’ve found the solution:
Hehe…get it?
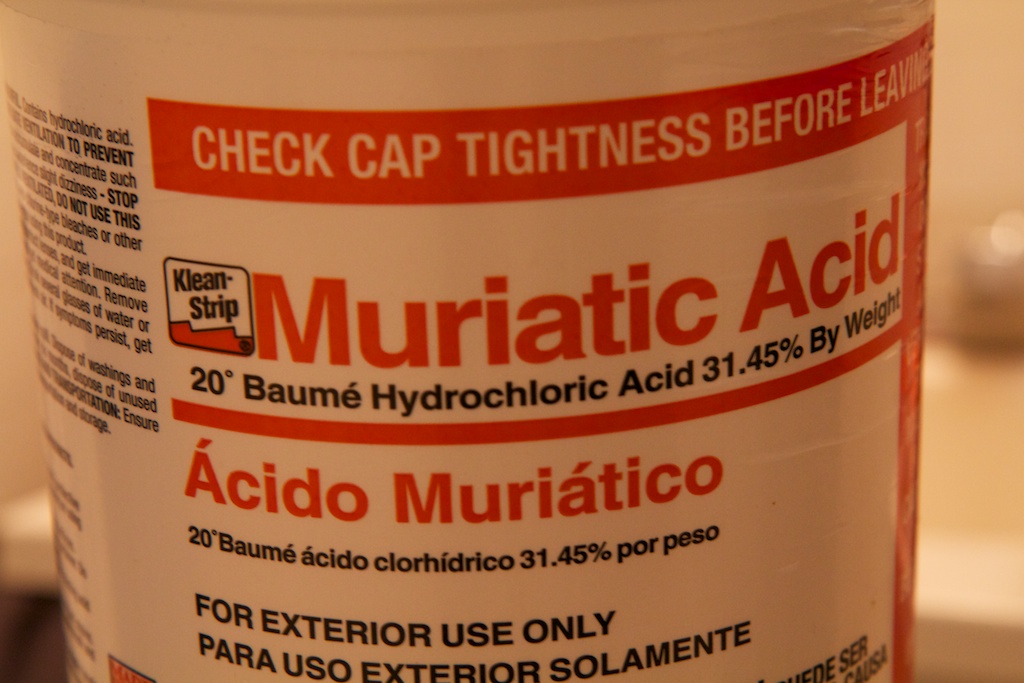
Seriously though, this stuff was badass as hell. When I opened the bottle, I saw a little wisp of white smoke. Definitely more badass than the stuff I had last night. Before I could use the new acid though, I needed to properly dispose of the old etchant I made yesterday:
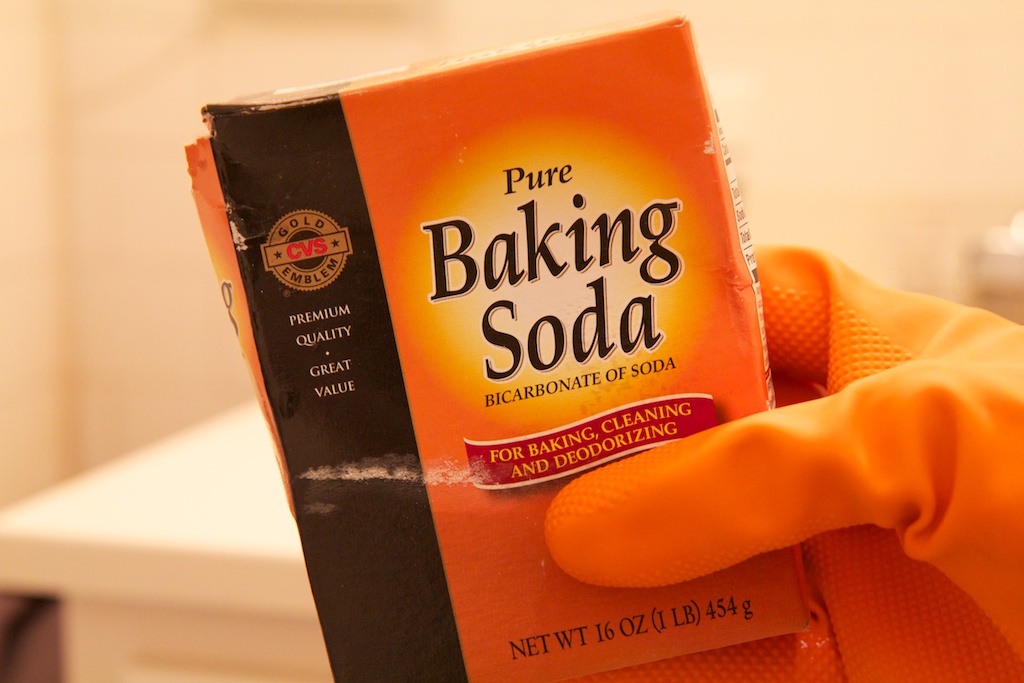
Now, I don’t remember too much chemistry from high school, but I actually used to volunteer to be lab assistant for my teacher after school. One of the tasks of a lab assistant was to neutralize and dispose of all the left over acid from the day. To neutralize an acid, you just need to add a base:
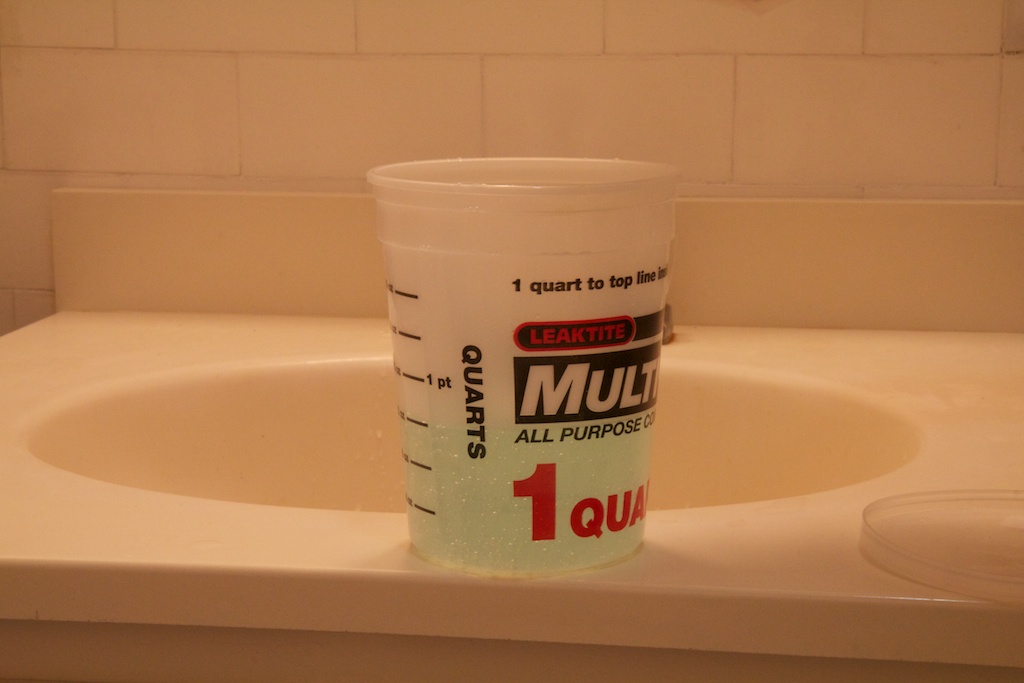
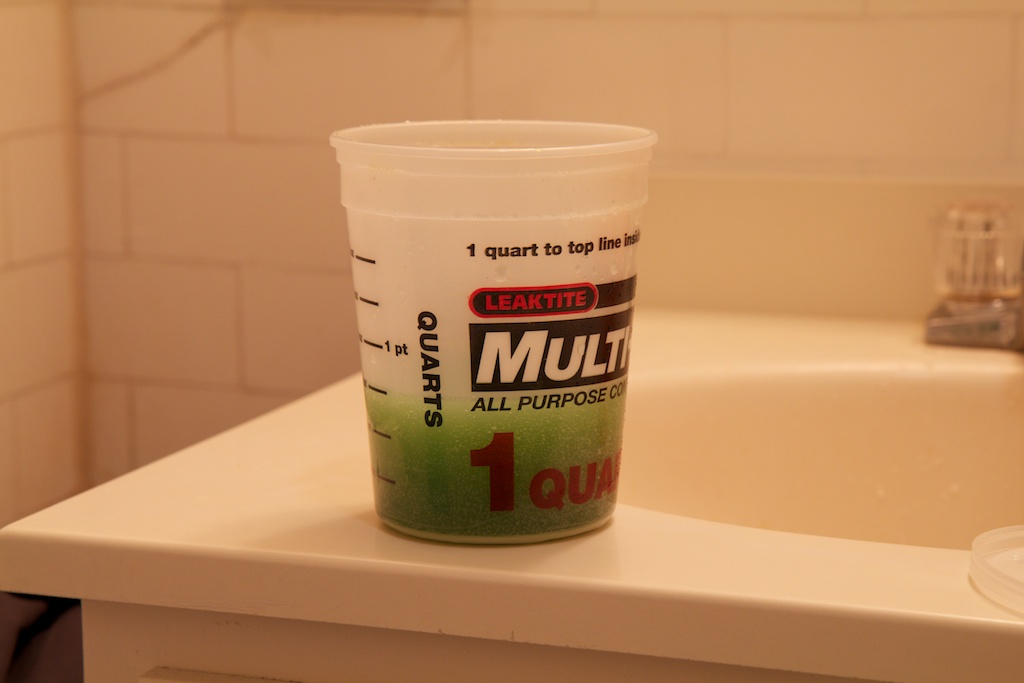
If you’ve ever mixed baking soda and vinegar, you’ve neutralized an acid. Basically, you just want to slowly add baking soda being careful not to let it fizz up too much and spill all over the place (possibly burning holes in things). Once you’ve added enough baking soda so that it no longer reacts, the solution is safe to pour down the drain. My etchant solution turned the most lovely color of green:
and it smelled a little bit like the rec center pool. You chemistry folks will have to explain that one to me.
With that all taken care of, I followed the same recipe for the etchant this time: 2% H2O2, 10% HCL. Because my solutions were already 3% and 30% respectively, I just did 2 parts H2O2 solution to one part HCL solution.
I didn’t mention this last night, but here’s a brief lesson on acid safety. Wear goggles, wear gloves, wear an apron if you have it. Work in a well-ventilated environment. Don’t store acids in metal containers. Don’t use metal implements. Always add acid to water and do it slowly.
This last one isn’t super intuitive, so it’s worth explaining. When you dilute an acid, heat is produced. You usually want a large body of water to absorb that heat. If you add water to a small amount of concentrated acid, the heat could potentially cause the acid to boil and splatter concentrated acid all over the place. Not to mention that if anything is going to splash or splatter, you want it to be your vat of water and not acid. In this case, I added the HCL to the H2O2 because the H2O2 solution was mostly water anyway.
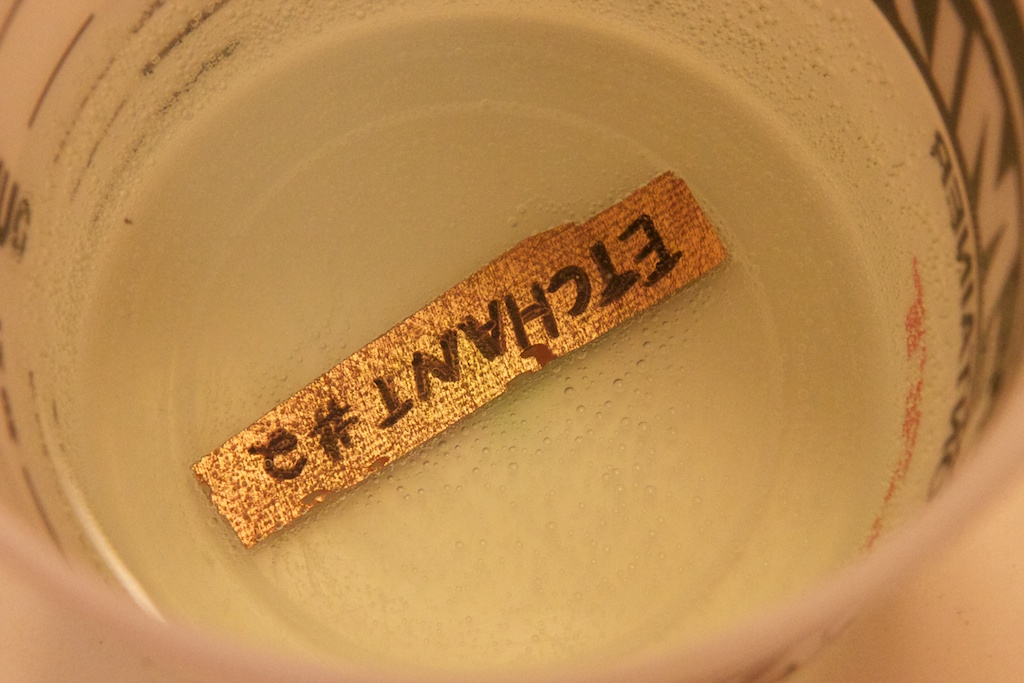
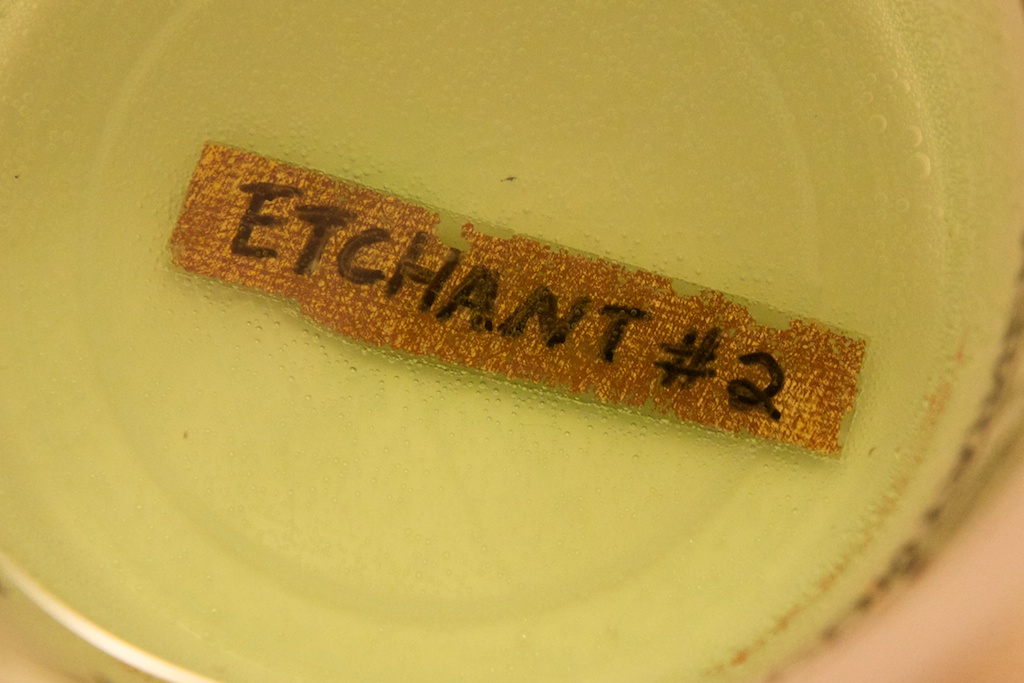
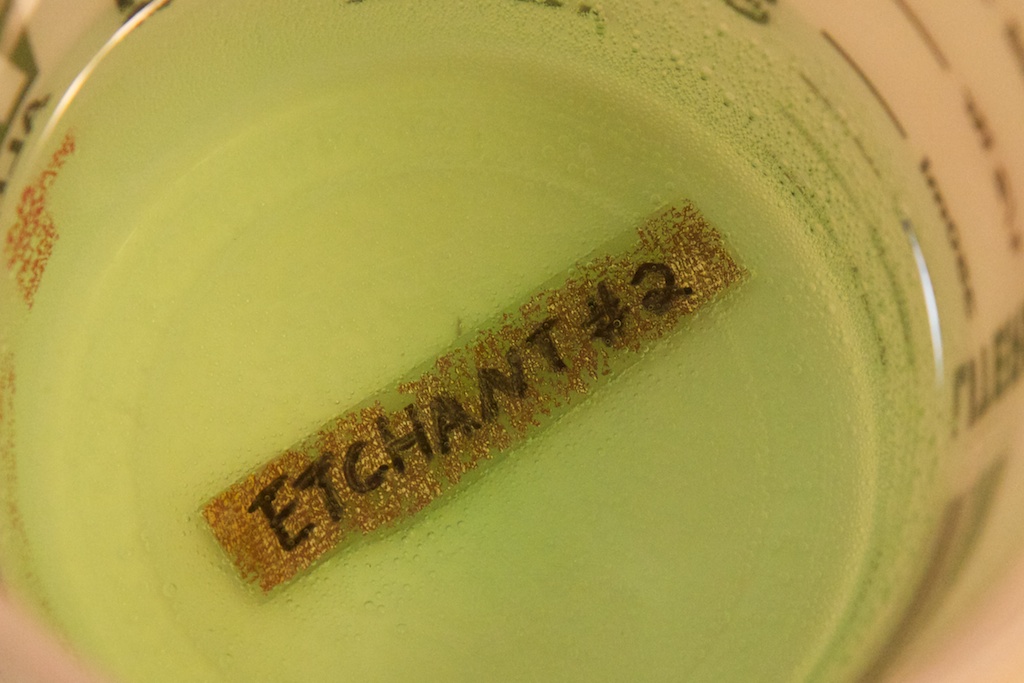
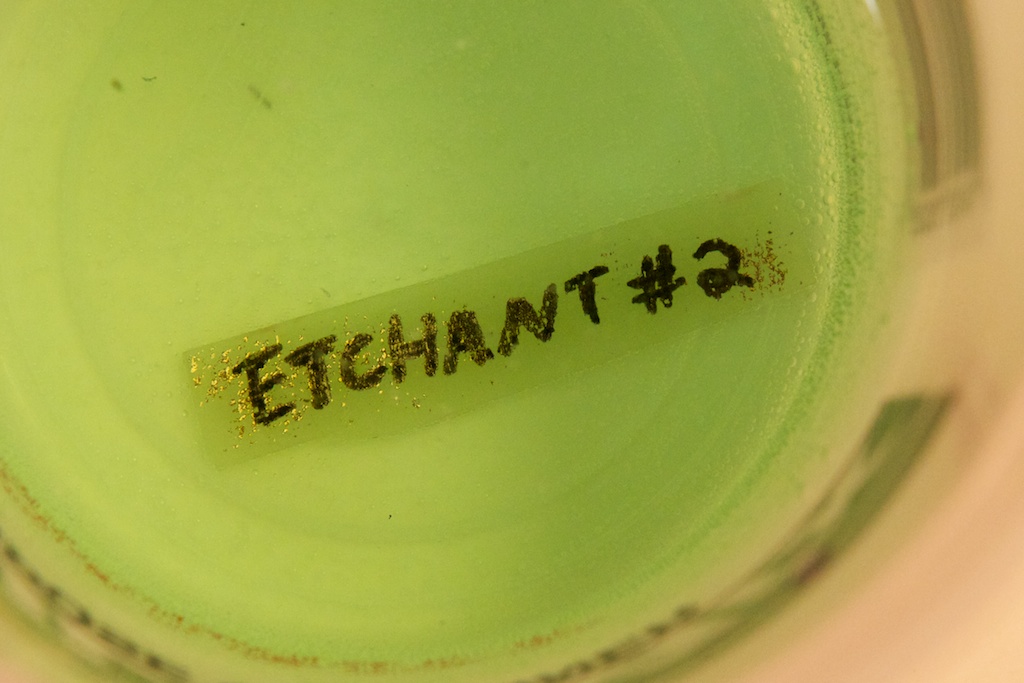
Moving on. Using the same process as last night, I prepared a test slip with some Sharpie marker and dropped it in the solution. The results came much faster. Here are some pictures:
After three minutes:
After 10 minutes:
After 13 minutes:
After 25 minutes:
The whole time I was stirring pretty much non-stop. I didn’t think to heat the solution, but I’m sure if I did, it would go even faster.
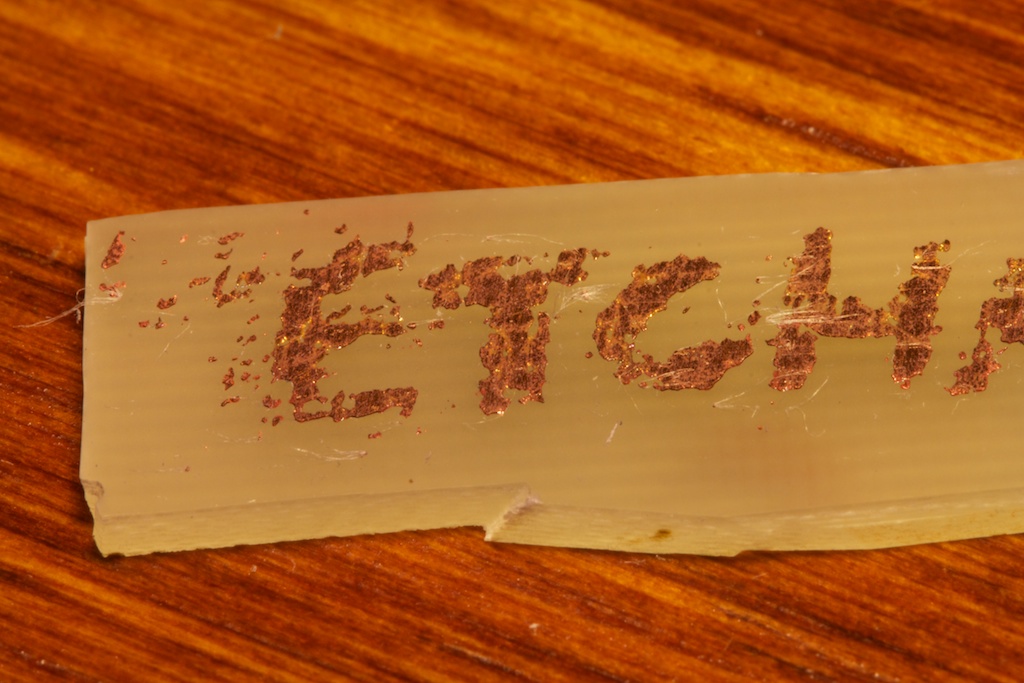
The Sharpie marker turns out to not be the perfect etch-resist marker as some of it dissolved away (that could also be a function of it not being perfectly dry). Here’s the board at the end:
As you can see, the Sharpie layer is so thin that it’s translucent in some areas. You’ll also note a bit of undissolved copper. I decided to pull the board out a little early to save from having any more of the Sharpie eaten away.
With a little acetone, I removed the remaining marker:
Well, the end result is far from perfect. There is a lot of under-cutting, and the letters are hardly straight-edged. Overall though, I think it was a success. Once I get my proper UV-reactive etch-resist boards in, I’ll be able to make some really clean traces I think. I wasn’t really going anywhere with Sharpie anyway.
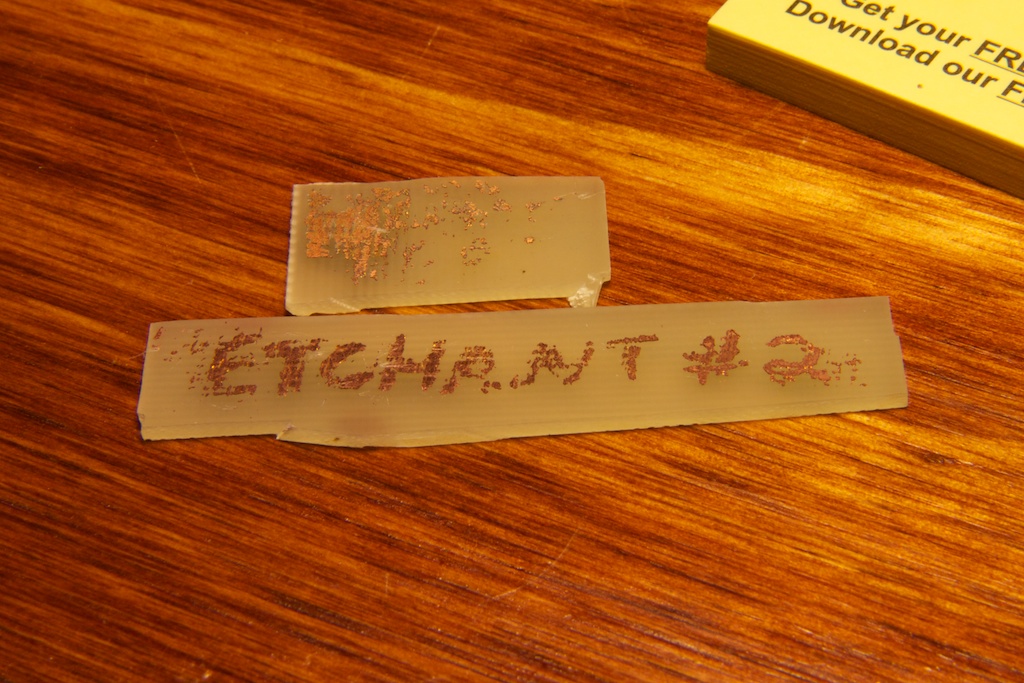
Also, the entire process took less than 30 minutes as opposed to the hour long travesty from last night. This is also with me etching a much larger board. Here’s a comparison:
What’s also cool is that this stuff is (supposedly) reusable! When the solution dissolves a lot of copper, it turns a bluish hue. Apparently bubbling some oxygen into the solution causes the dissolved copper to precipitate out leaving the solution ready to use again. If bubbling is too difficult, you can also just add a little more H2O2.
Even still, the entire solution was less than $10 and will be enough to etch dozens of boards. Can’t wait to try it on the real deal!


Pingback: Explore More With A Paint Calculator | AMPA Teresa de Calcuta S.S.R.