So I lied. I got my reflow soldering kit from proto-advantage.com and decided to get busy today instead of waiting for the weekend.
For some reason, I got two QFN-24 breakout boards. Bank error in my favor I guess…
I decided to start by trying the BMA145 analog accelerometer on the LGA-16 board. I opted for a digital accelerometer for my final design, so I figured I had nothing to lose. Besides, I have two of the chips, so I really can’t mess it up that bad.
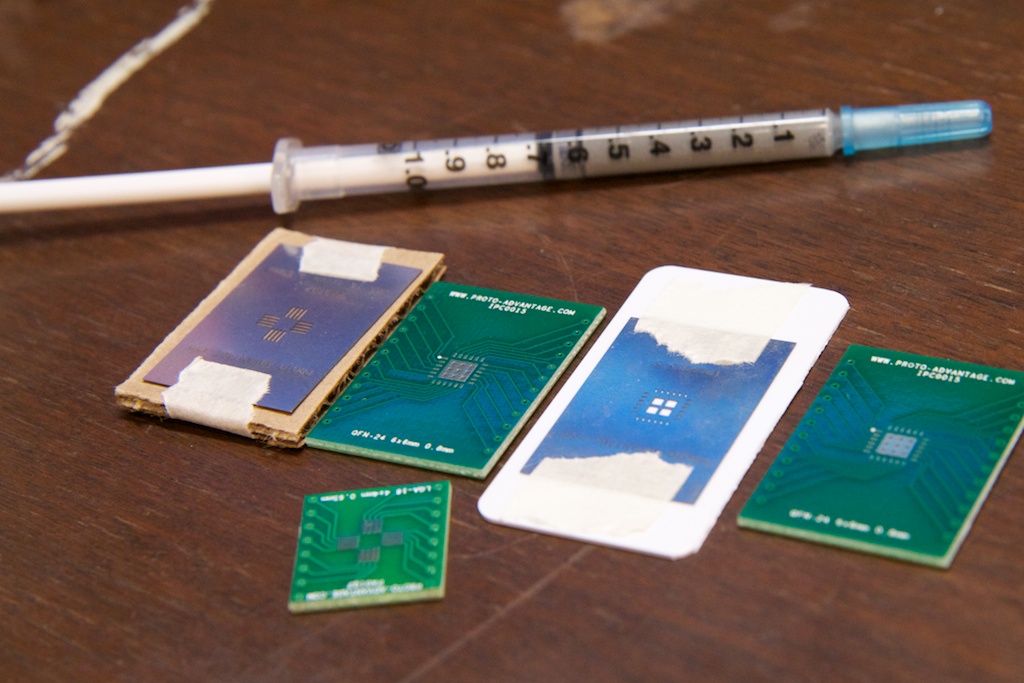
The reflow soldering method is very different from typical soldering. The pins on this thing are .65mm apart, so it’s pretty much impossible to solder by traditional means. Instead, you have to apply solder paste which has the consistency of thick cake-icing. The paste consists of solder bits mixed with some kind of adhesive that will burn off at relatively low temperatures.
To apply the paste, you have to cover your board with a stencil so that only the copper pads are showing. Then you smear paste over the top. If you do it right, a tiny bit of paste is deposited in each hole. This is similar to screen printing T-shirts. Let’s see how I did:
Eesh, that’s no good. I’ve got all the traces touching. I made a mistake here with my setup. I had the stencil taped down over the board, but because the stencil was larger than the board, it sat unevenly and had a gap between the board and the stencil. The solder paste oozed into this gap and created the bridges. It’s easy to wipe off with the included alcohol wipe. On to try two!
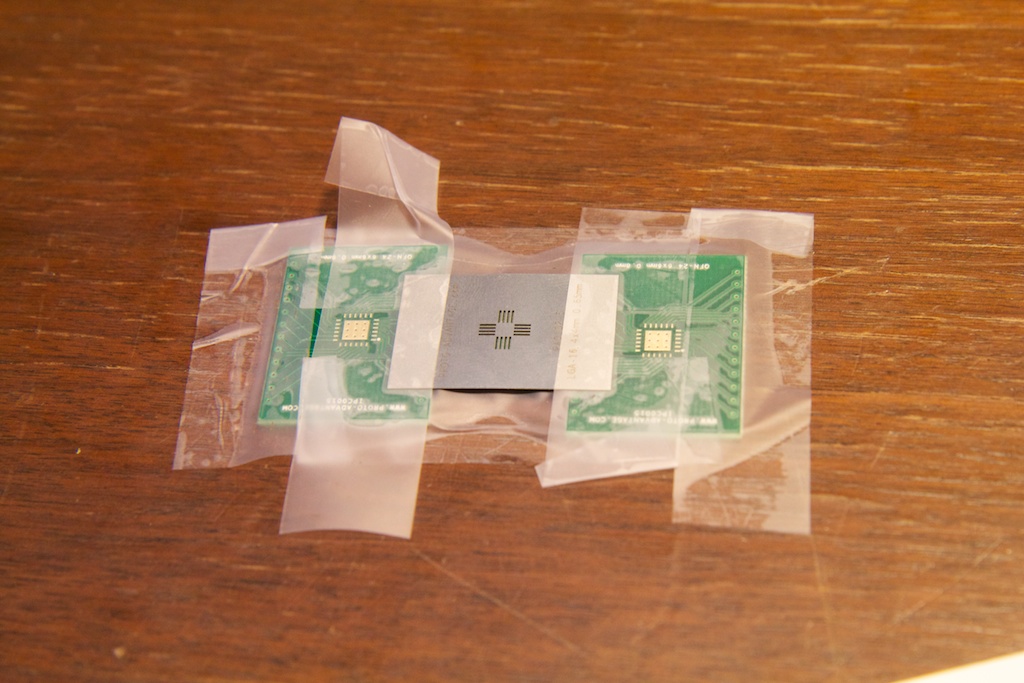
This time I added the two extra boards to keep the stencil straight.
So, the stencil wasn’t lined up perfectly and I think the stencil is still bubbling up a little, so next time I’ll hold it down with my tweezers very close to where I’m applying the solder paste. On to take three!
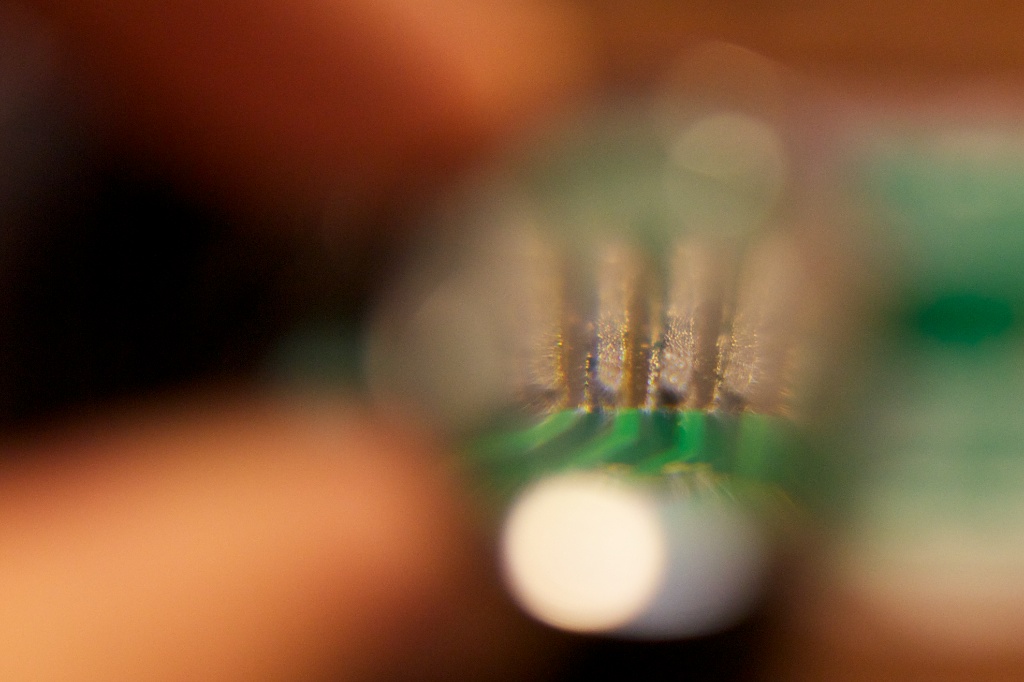
Um…
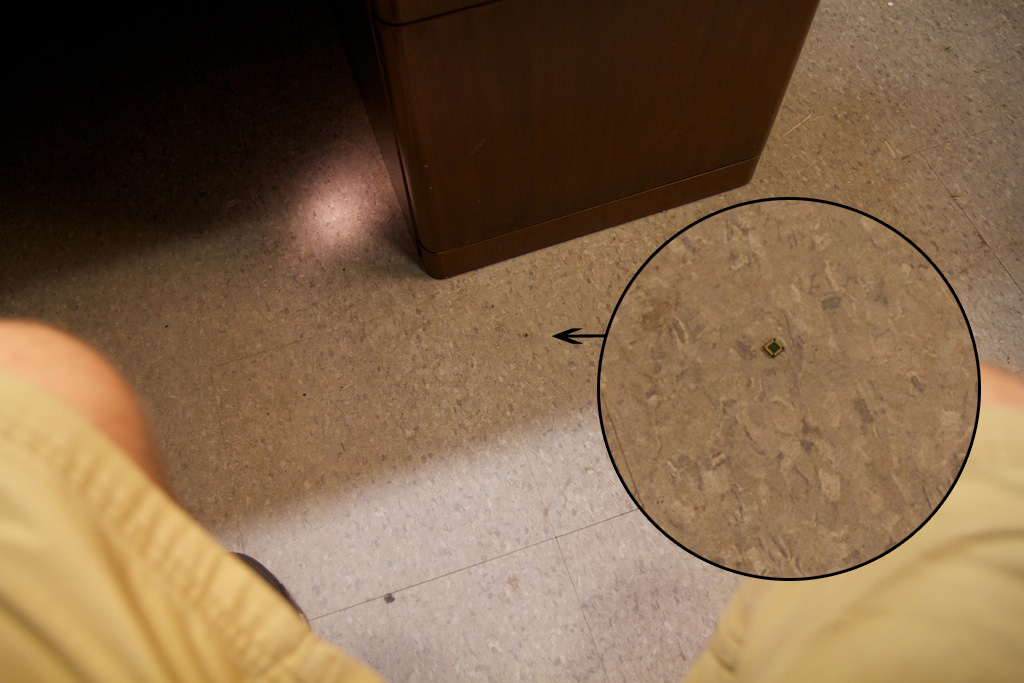
That’s more like it! Now to place my chip carefully… wait, where is my chip? Oh crap, I must have dropped it. I have a backup, but I’d like to not lose it. Hm… it’s not on the ground…
Oh! There it is!
Carefully placed…
Now to bake! The proto-advantage website recommends a toaster oven. I’ve got one of those around here somewhere…
This’ll definitely work. Give it a few minutes at 450F aaaannndddd….
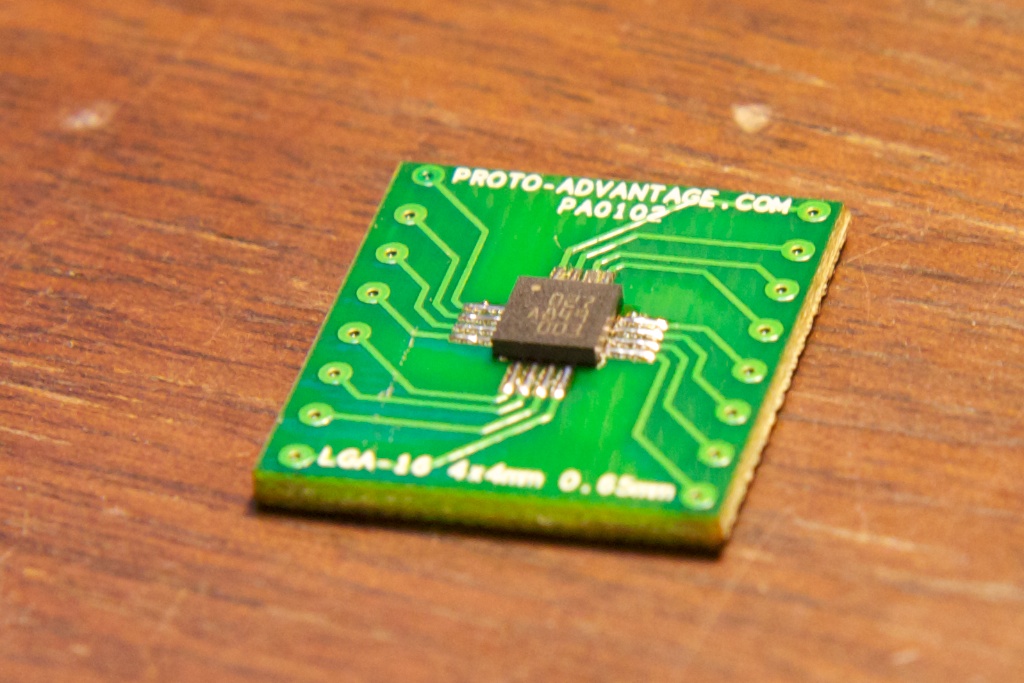
Presto!
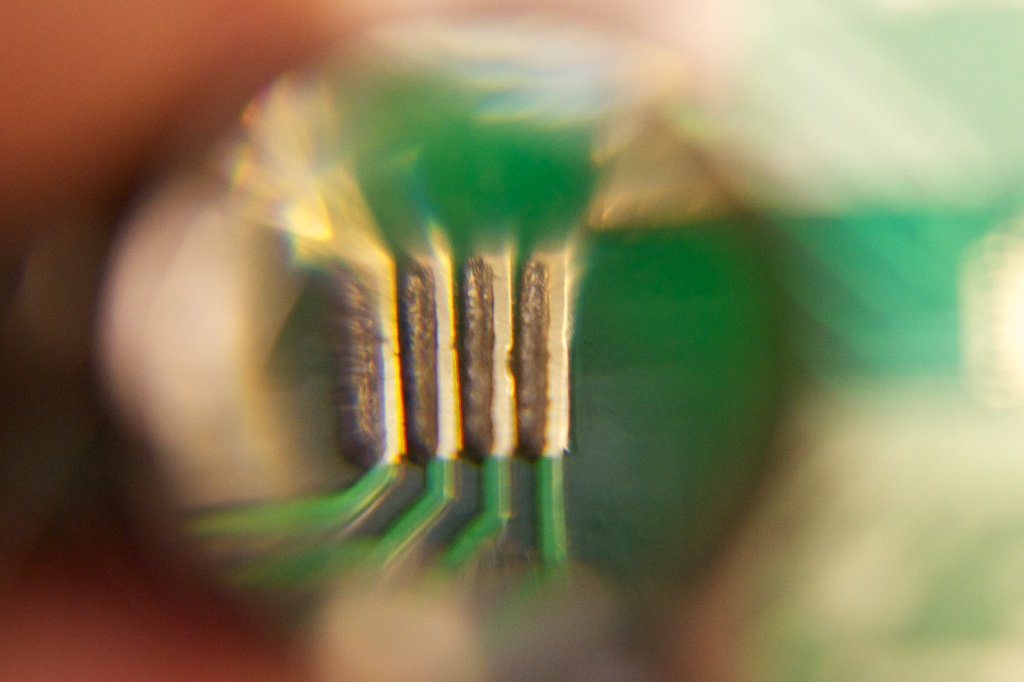
I’m not 100% sure the joints are good. The spaces between the solder joints aren’t super clean, so I’m a little worried.
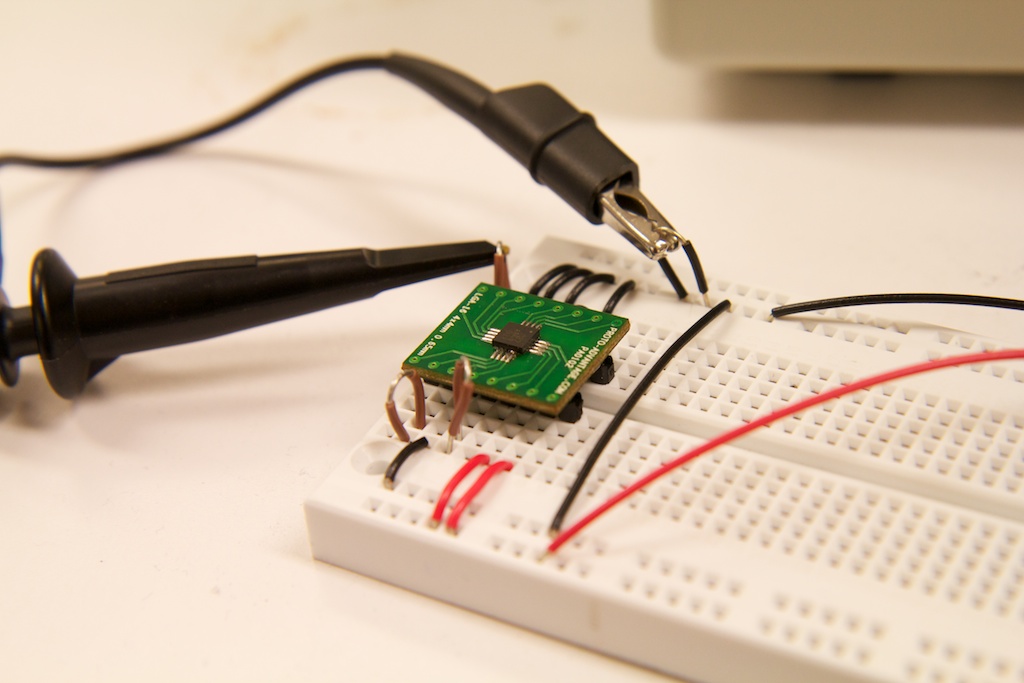
I made my way up to lab to use their pretty equipment for testing. Here’s my test rig:
And now for testing…
I DIDN’T FUCK IT UP!!!
Woooo! It performs as specified. There’s a fair amount of noise which is to be expected when reading such small voltages, but I noticed about a 250mV difference between 0G and 1G. The chip’s spec sheet says it should be .3V/G, so I guess it’s working as advertised.
Now, there are a lot of redundant pins on the BMA145, so there’s still a chance that I did mess it up and I just can’t tell.
That’s a lot of ground pins. I also just grounded SEL1 and SEL0 because I wasn’t using the multiplexing output. Either way, I’m extremely satisfied with my result. Reflow soldering is not impossible by any means and it should let me build on a scale that I couldn’t even imagine through conventional soldering.
Coming up next will be my compass. I’m a little afraid of messing that one up though because I’m using a QFN-24 socket for a weird chip. The socket standard includes a pad in the very middle of the chip seen here as a big square in the middle.
My compass chip (HMC6352) doesn’t have this pad, and I think the solderpaste is going to be really messed up if I squish it under the insulated belly off the chip. I’m going to have to find a way to apply paste only to the edges. without getting it in the middle.
A challenge for another day…





Pingback: Getting Itty Bitty With The Ice Breaker 2.0 | ch00ftech Industries