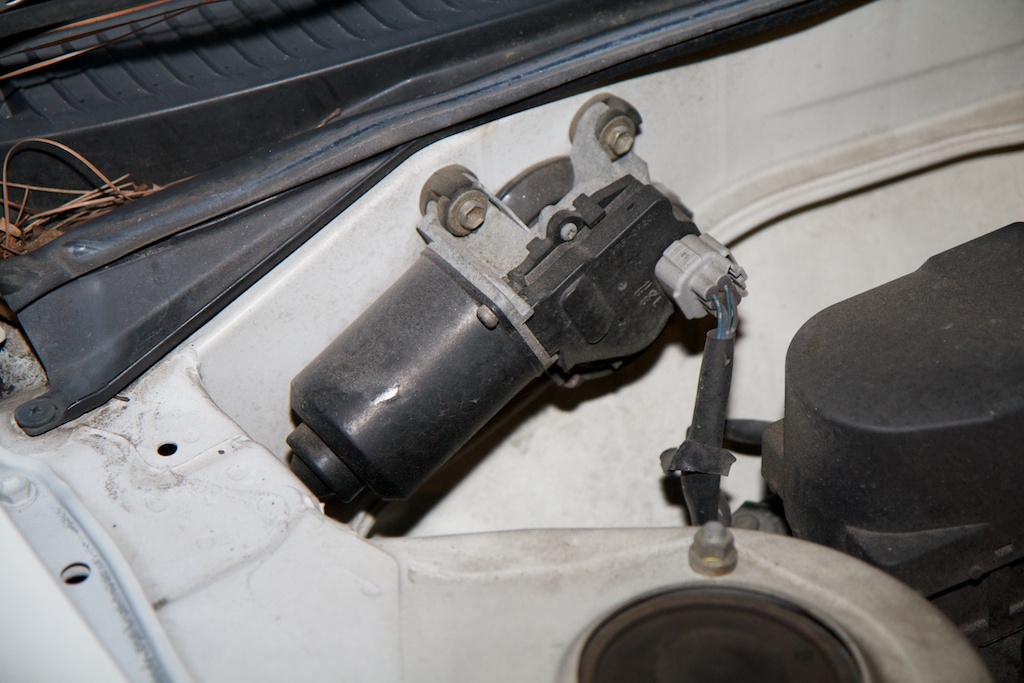
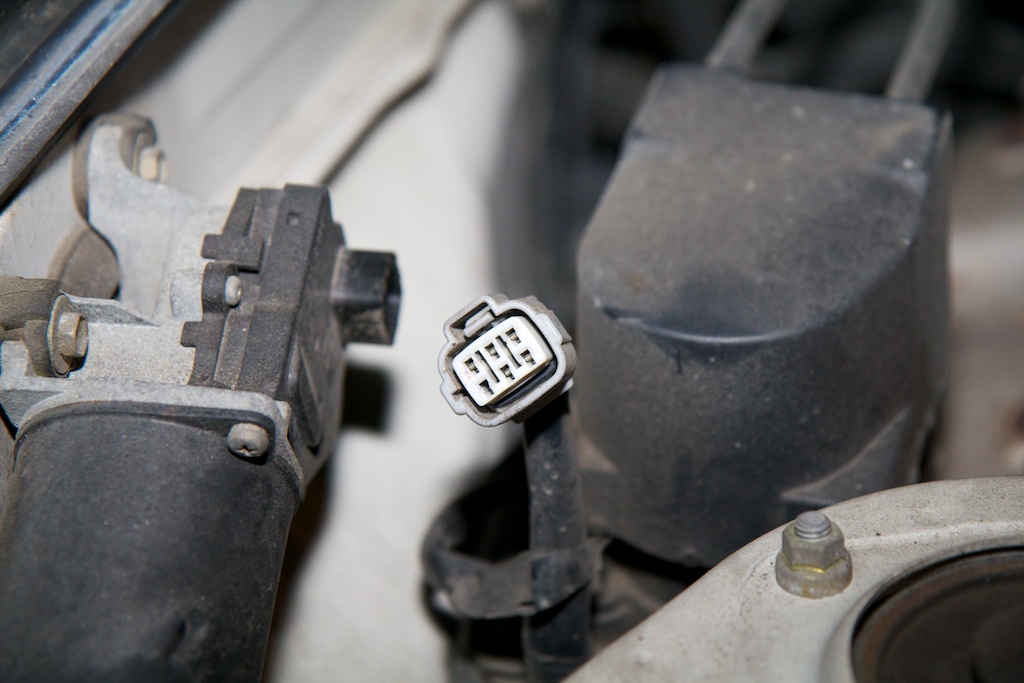
Before setting out to design a circuit to control my windshield wipers, I needed to do some research on what exactly I was up against. That would be this:
I had a two major questions for the evening:
- What kind of connections does the motor have
- How much current does the motor draw
Connections
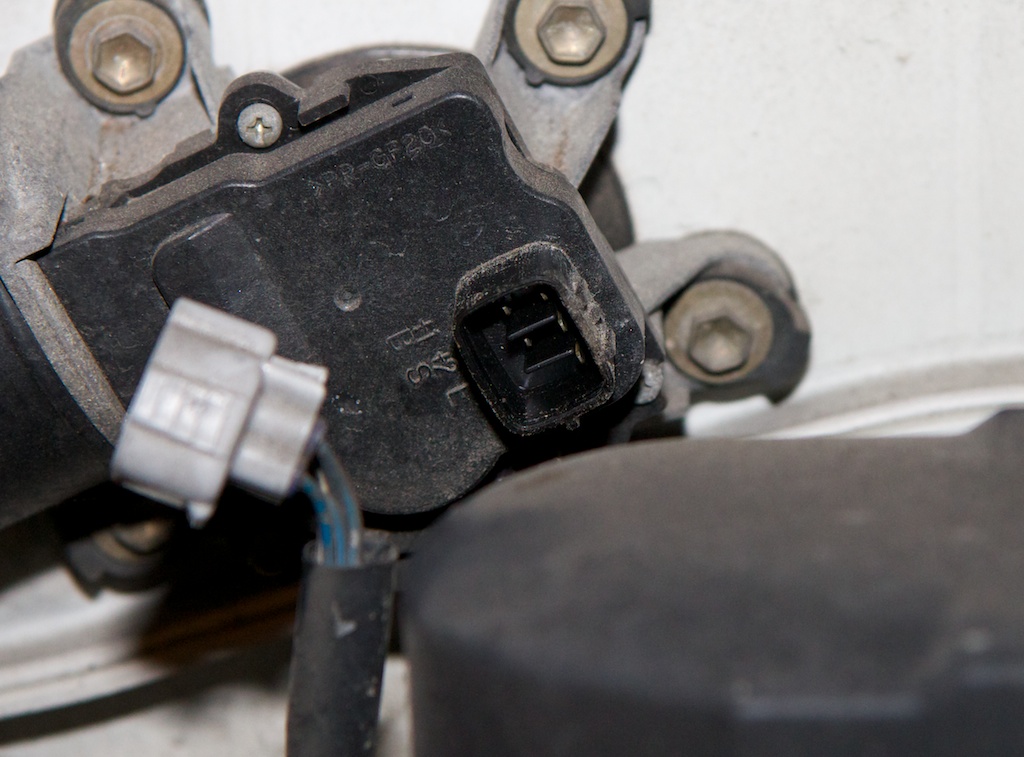
The car connects to the wiper motor by a five pin header. I was pretty certain that these were the five pins I read about for my last post, but I wasn’t sure what the ordering was.
They were labeled:
- +1
- +2
- L
- B
- S
I was pretty certain that +1 and +2 were for the two different speeds, but I didn’t really know about the rest. On a whim, I guessed that L stood for “Low” (ground). I turned on the windshield wipers and connected the +1 pin and the L pin to their respective pins on the cable to see if I could get the wipers to move with just those two connections instead of all five.
They moved! +1 was for the slow speed and connecting +2 on the motor to the +1 pin on the cable got me the high speed. The cable must be supplying the same voltage rail to either pin as you toggle between the two speeds, because connecting the +1 cable pin to the +2 motor pin gives you high speed while the car’s setting is still low speed.
So, that covers those three, what about the last two?
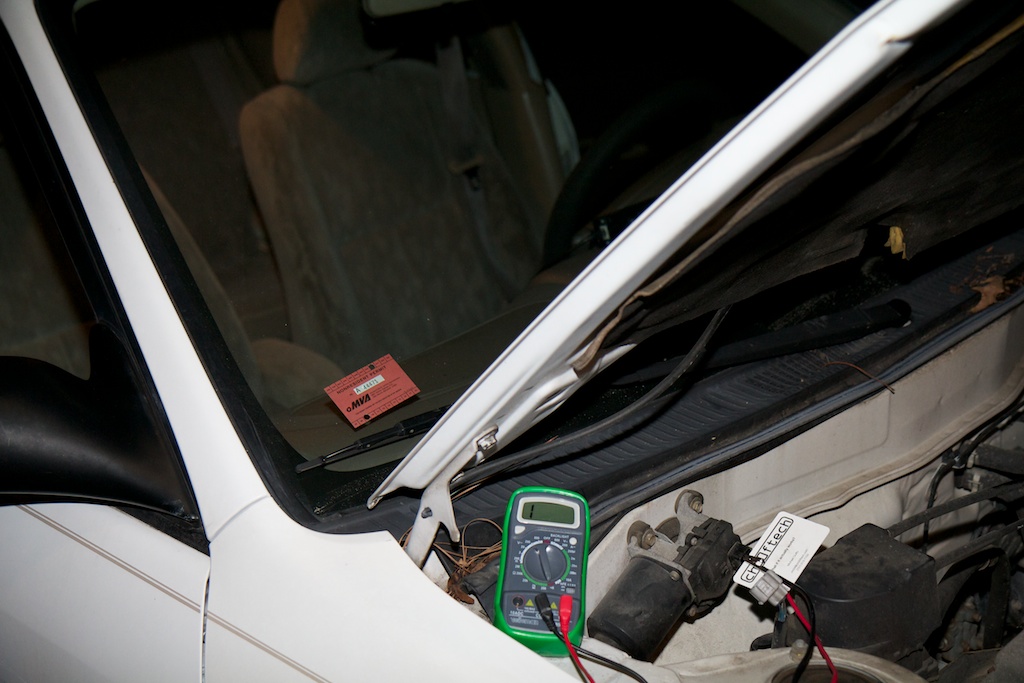
I ran a conductivity test between the two while the wipers were at different positions. Here, the wipers are parked:
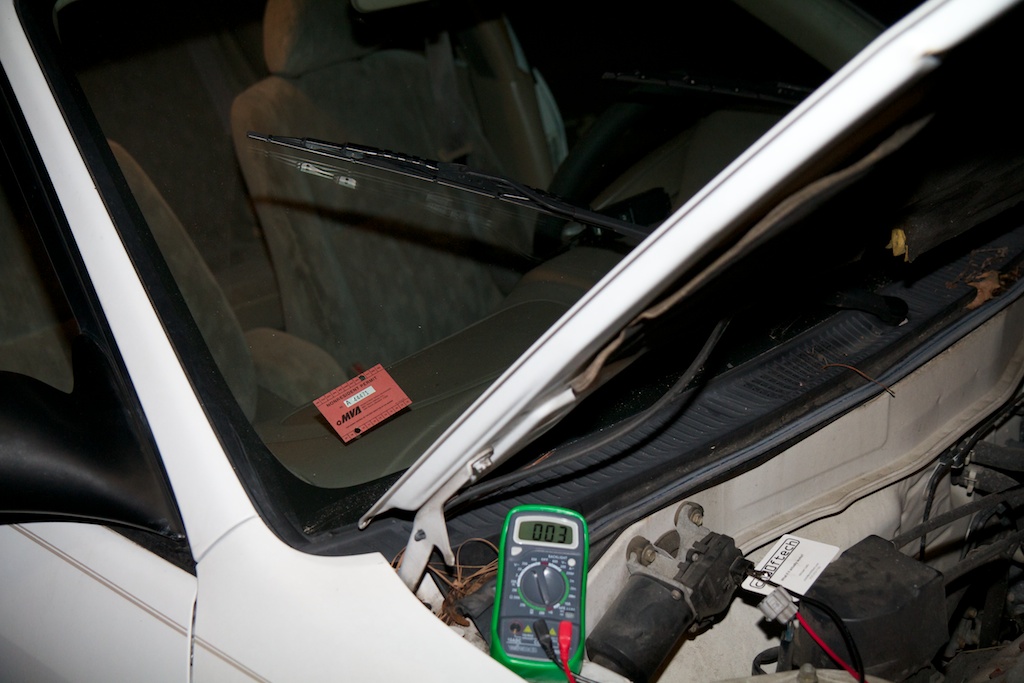
And you can see that the connection is open (infinite resistance). When the wipers are not parked:
The resistance is close to zero. Also (no pictures of this), I determined that when the blades are parked, the S pin is grounded. This is just like the motor that I looked at in my last post. If the S pin is connected to the +1 pin externally, then it can provide a brake for the wipers when they are in the parked position by grounding the +1 pin.
Pinout:
- +1 – High speed power pin
- +2 – Low speed power pin
- L – Ground pin
- B – Parking switch. Connects to S pin for about 90% of wiper cycle. Disconnects for 10% starting at parked location.
- S – Parking switch. Connects to B for about 90% of the wiper cycle. Disconnects for 10% starting at parked location. Connects to GND when wipers are parked.
So that’s all for the connections. My goal is to make a unit that I can simply slip between the cable currently present and the motor so that it can be easily added and removed without damaging anything. I’ll have to figure out exactly what kind of connector that is first.
Do you know?
Current Draw
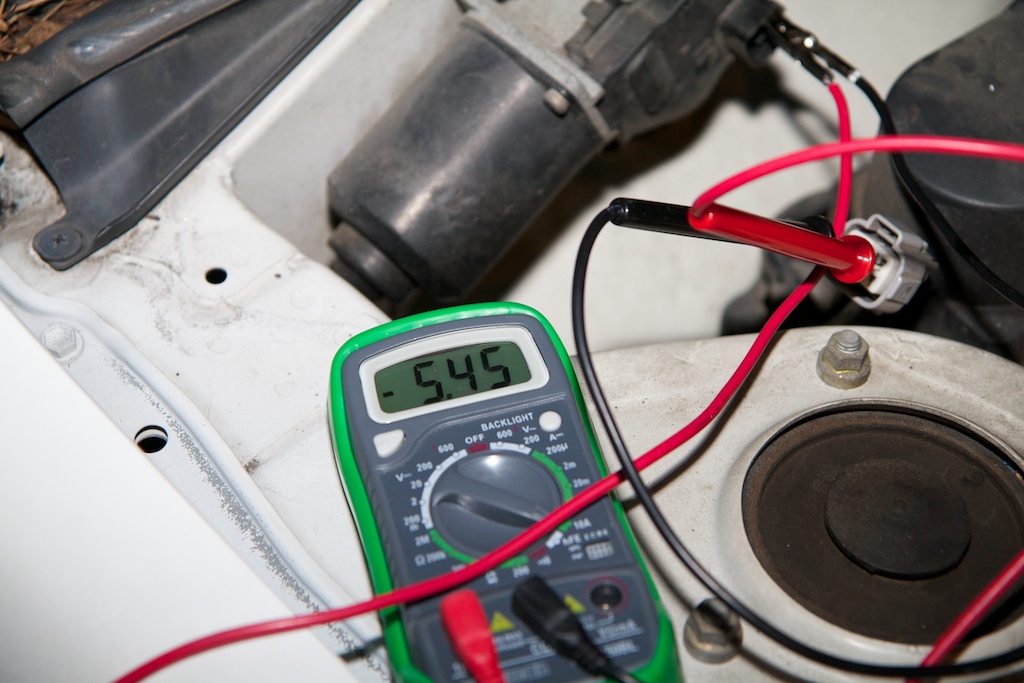
My multimeter can measure up to 10 Amps of current, and I figured that the motor wouldn’t draw more than that, so I went ahead and connected it in series with the motor at the two speed settings. The current reading fluctuated a lot as the blades moved around, but I tried to snap a photo at the maximum readings I got. Here it is at the low speed setting:
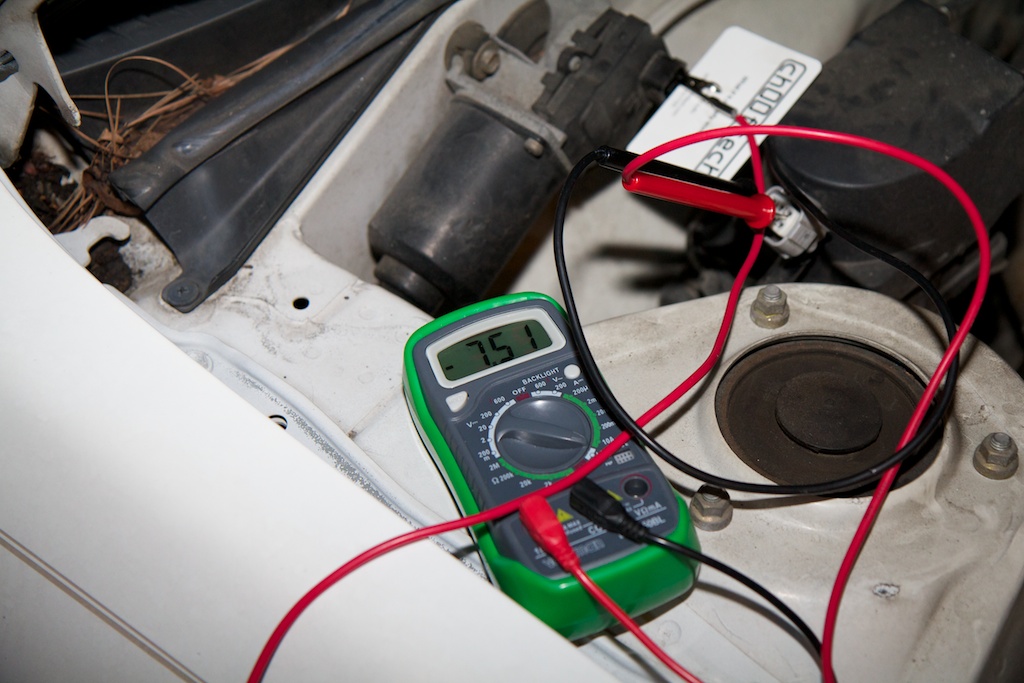
Under 6 Amps peak. And at the high speed setting:
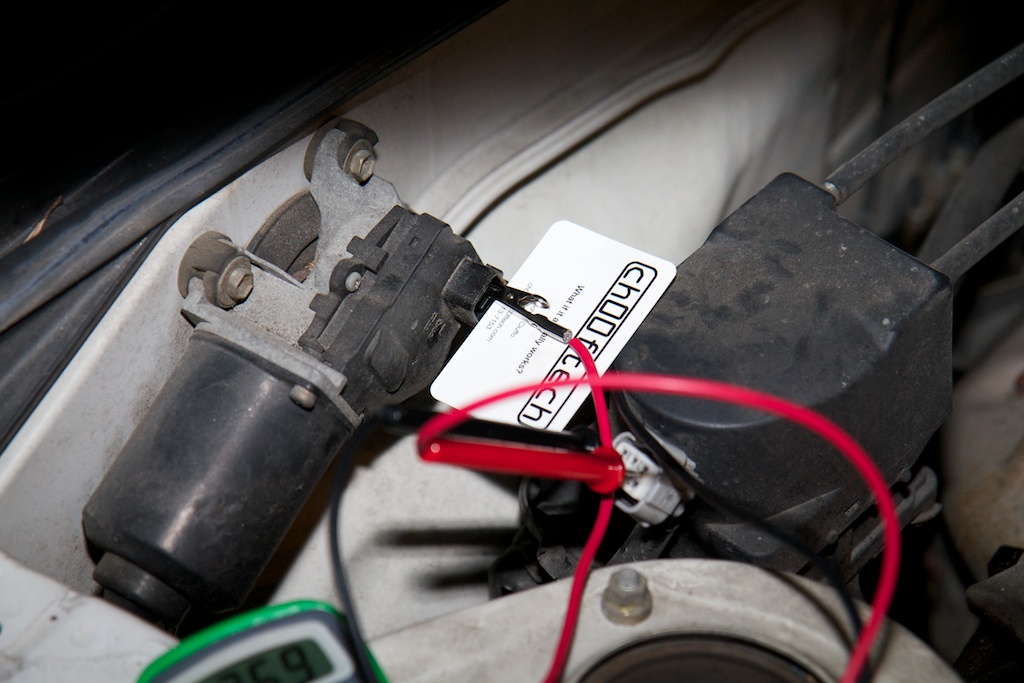
Under 8 Amps peak. Oh and yes, my business card makes an excellent insulator:
Conclusion
So, I’m definitely glad I ran these tests because I was expecting to only need a 4 Amp supply, but it’s starting to look like I’ll be needing closer to 10 Amps. I was running these tests with dry windshields too, so for all I know, it’ll need more current when the water on the windshield starts to slow them down.
I also really need to research what kind of connector that is. I think I’ll start on some automotive parts websites then maybe work my way over to Digikey.
Update!
So I found out what kind of connector that is. It’s a DJK7064B-2-21/11. Unfortunately, I can only find it on manufacturer sites where the minimum quantity is 500 or so. I guess I’ll have to find another way to do it…
Continue this story here.

Maybe the connector is something from the Molex MX150 series? (e.g. http://www.molex.com/molex/products/datasheet.jsp?part=active/0334720601_CRIMP_HOUSINGS.xml)
Looking forward to seeing your progress.
Dang, that looks really close, but the actual contacts are flat. I think I can actually use quick connect crimp connectors, but it would be nice if I could get them all in one assembly (especially a waterproof).
Thanks for the tip!
If you’re open to swapping out the connectors, check out weather-pack modular types. They look pretty nice and waterproof too.
I thought about that, but unfortunately, the other end of the connector is built into the motor housing, so I can’t easily swap it out.
Wet windshields may cause less drag and draw less current
Possible. It’s raining today, I might try to measure it while it’s wet. What I’m most worried about is when the windshield is only slightly wet which seems to make it more “sticky”.
I would hope that you don’t need the sky to be compliant just to get your windshield wet. Hose anyone? I have been happy with my ability to make my own connectors in the past using Hot glue or epoxy which, although not as good, has a nice tight fit. I attach connectors to the wires so that you slide them onto the pins on the motor, and then I kinda spray the whole thing with an oil (Pam) and then fill ‘er up with epoxy (I usually use hot glue in case I mess up)
You know, I’ve done this with smaller connectors, but never even thought of using it for this project. Instead of using a hot glue gun though, I just cut a chunk of hot glue itself and use a heat gun to melt and drip it into the connector “mold”. Thanks for the tip!
Why don’t you go to a local junk yard? Judging by your wiper motor looks you drive a toyota or lexus which should be easy to find. Go to a bunch of junkyards in your area and take a pair of wire cutter with you, and find a car that uses your connector (toyota/lexus). Shouldn’t cost more than $10.
Hey man.. way to put your business cards to use. On another note.. you may want to look up aftermarket stereo connectors for your make and model.. Sometimes they use the same connector elsewhere on the car. Just a thought. also check ebay for aftermarket parts for your make and model. I hope VW gives you a car if you get this off the ground. your determination is enlightening.
Haha, thanks!
I never thought about that. Another commenter suggested I try a junkyard, but there aren’t any nearby open on weekends, and I work 9-6 during the week. I’ll check out Ebay. Thanks again!