Firmware
The firmware for this device is fairly straightforward. I just needed to measure an ADC voltage at regular intervals and drive some NeoPixel LEDs.
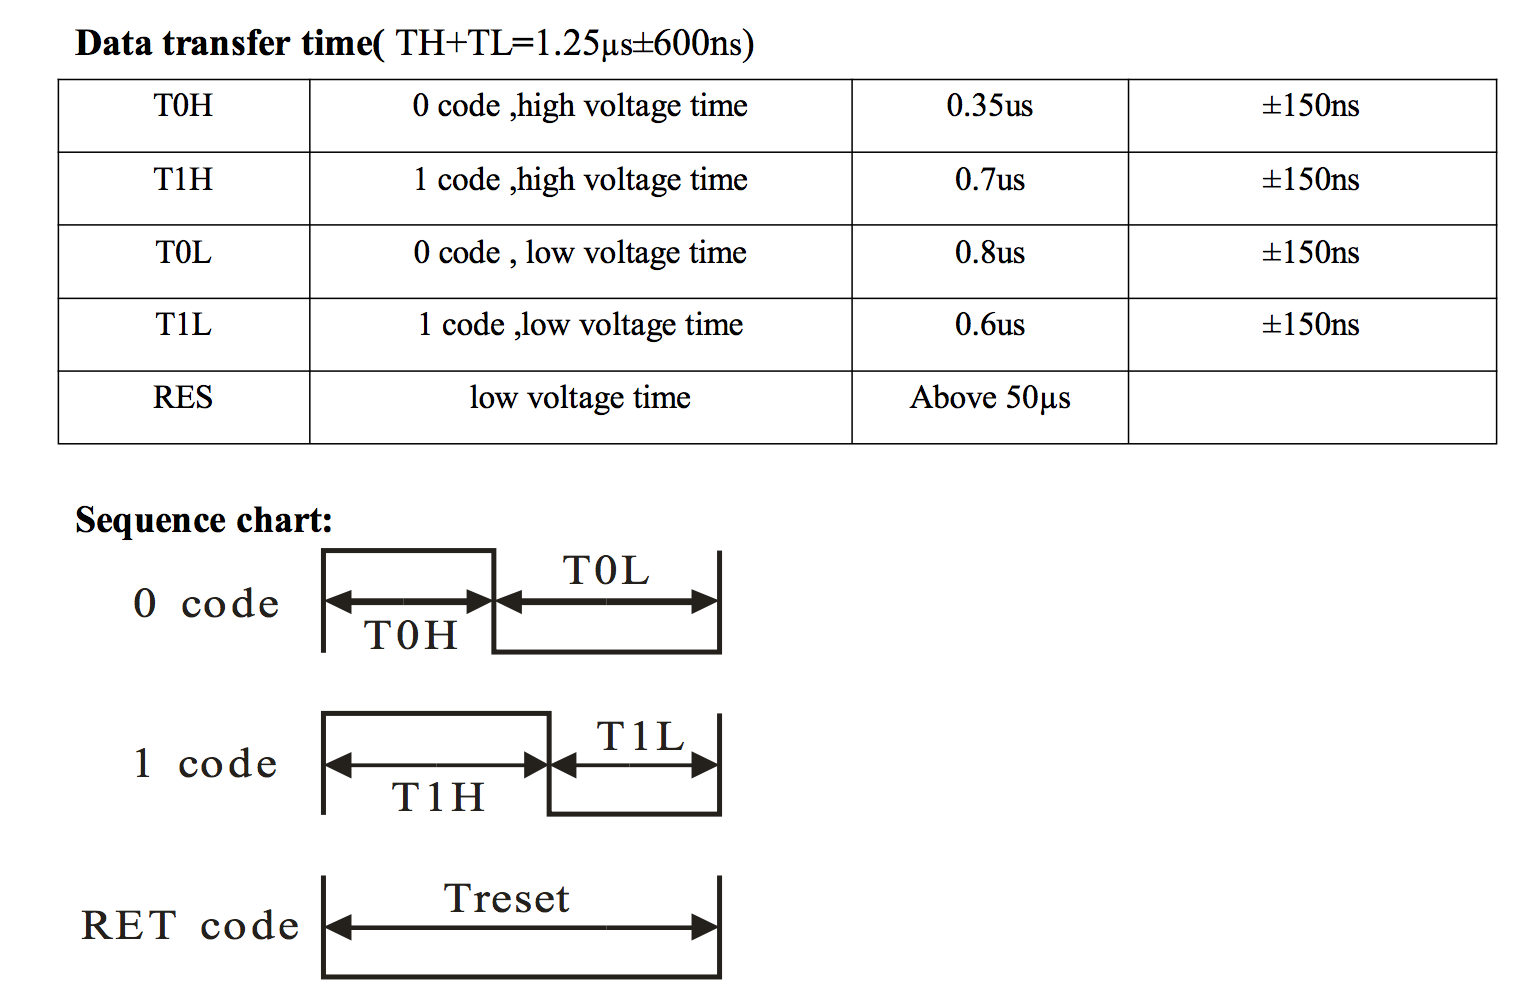
I had optimistically connected the LED data line to a timer/counter pin on the microcontroller not realizing exactly how fast the LED data needed to be provided:
Millisecond timing is easy for an ATTiny44, but sub-microsecond timing is way too fast for any of the integrated peripherals to get set up in time.
As a result, I ended up using a few NOP commands to simply skip a clock cycle here or there until I got the right timing. This portion of my code looks like this:
inline void sendbit(uint8_t byte, uint8_t bit) {
    if (byte&bit) {
        PORTA = PORTA | 0X80;
        _NOP();
        _NOP();
        PORTA = PORTA & ~0X80;
        _NOP();
        _NOP();
        _NOP();
        _NOP();
        _NOP();
    }
    else {
        PORTA = PORTA | 0X80;
        PORTA = PORTA & ~0X80;
        _NOP();
        _NOP();
        _NOP();
        _NOP();
        _NOP();
        _NOP();
        _NOP();
        _NOP();
        _NOP();
    }
}
Pretty gross, right?
Once I was able to send data to the LEDs, it was just a matter of deciding what to send them. They just need 8 bits each for red, green, and blue for each LED.
I decided to stick to a single color design as there was always a chance that a particular LED would die and I figured a missing LED was harder to notice than one that appears in the wrong color. I also needed to keep my current draw under 1A, so fewer colors helps.
As far as the pattern goes, I wanted something that would look like “energy pellets” or…whatever being loaded into the car. Typically when it comes to moving designs along a strand of NeoPixels, you can just shift the design over one pixel at a time to give it the appearance of movement.
This becomes a problem though for very slow moving designs. If you want to slow down the design, you need to necessarily reduce the frame rate which creates an unsightly choppy effect.
In order to reduce this choppy effect, I needed to antialias my design. If you imagine a design with a single point light moving down the strand, you might think of this process as dimming two LEDs to half brightness to make it look like the point light is between them.
I wrote a little program in Python to do this for me:
myShape = []
shapeLength = 30
for i in range(shapeLength-8):
    myShape.append((i*255.0/25))
myShape = myShape + [0,0,0,0,0,0,0,0]
animation = []
numFrames = 60
animation = []
for slider in range(numFrames):
    currentFrame = []
    for i in range(shapeLength):
        currentFrame.append(0)
    center = 1.0*shapeLength*slider/numFrames
    leftHalf = center-int(center)
    rightHalf = 1-(leftHalf)
    for i in range(shapeLength):
        currentFrame[(int(center)+i)%shapeLength] += rightHalf*myShape[i]
        currentFrame[(int(center)+1+i)%shapeLength] += leftHalf*myShape[i]
    finishedFrame = []
    for i in currentFrame:
        finishedFrame.append(int(i))
    animation.append(finishedFrame)

for i in animation:
    string = "{"
    for j in i:
        string += str(j)+","
    string+="},"
    print string
Basically, this code generates a sloping LED brightness pattern 25 pixels wide with 5 blank pixels at the end and slides it down 30 LED locations over the course of 60 frames of animation. As the design slides off the 30th LED location, it is reproduced at the beginning. This way, I can place multiple instances of this animation side by side and let it hand off from one to the next and create a seamless progression down the LED strand. The output of this script is a lookup table ready for my firmware.
Between each frame of animation, the MCU measures the current sense voltage and increases or decreases a delay target by a small amount. It then pauses for a time proportional to that delay target. The target can take around 100 frames to go from a minimum to maximum value. This acts as a simple low pass filter that makes the LEDs adjust to changes in current gradually.
The higher the voltage, the lower the delay, and the faster the LEDs move. If the delay target drops too low, it shuts down the LEDs entirely.
I probably could have spent a lot more time tweaking this as the response isn’t exactly linear, but I was on a bit of a deadline, so I was more focused on the hard, important aspects of the project.
Assembly and Testing
It was finally time to put everything together.
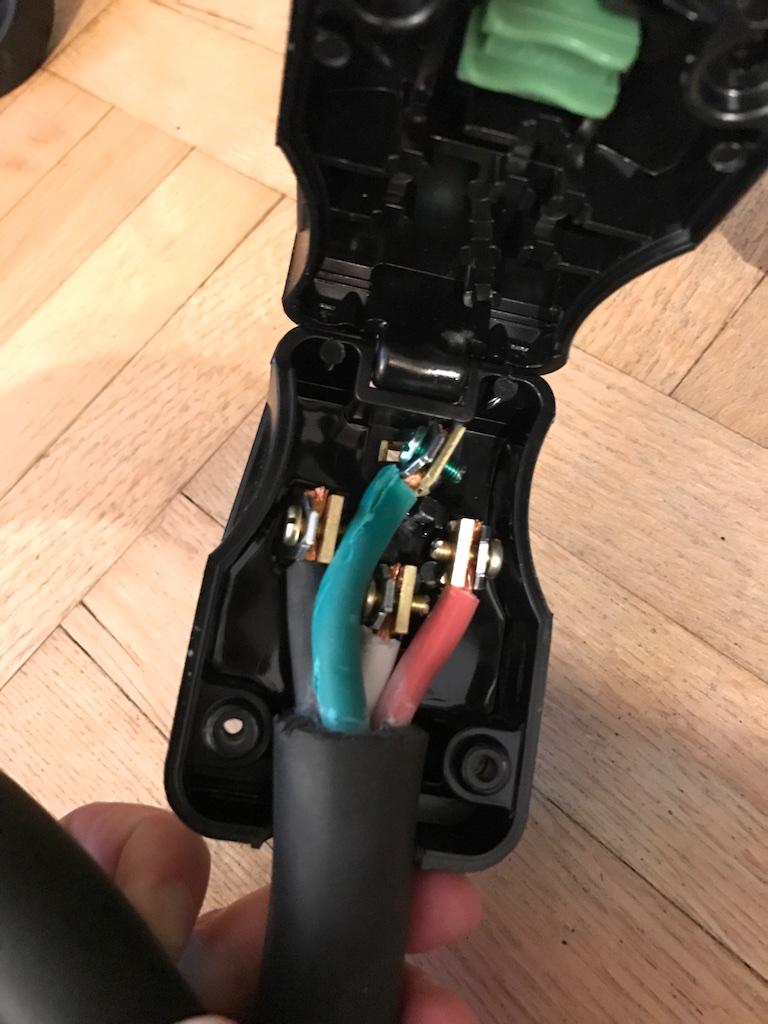
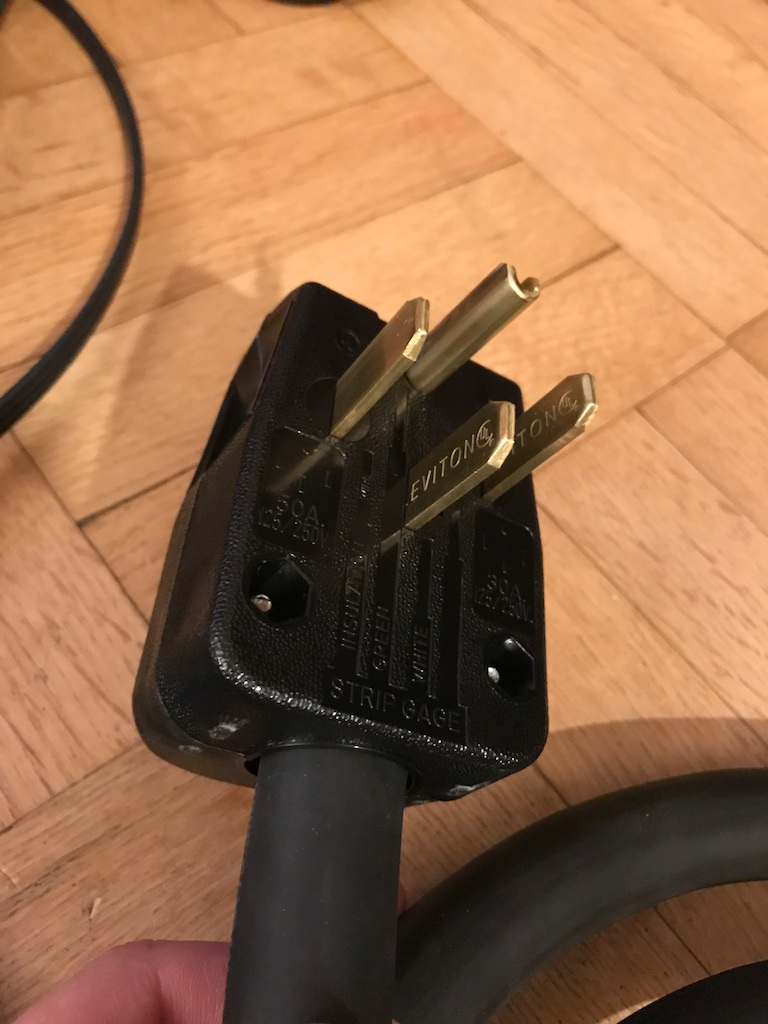
Following the instructions in the manual, I first assembled my plug:
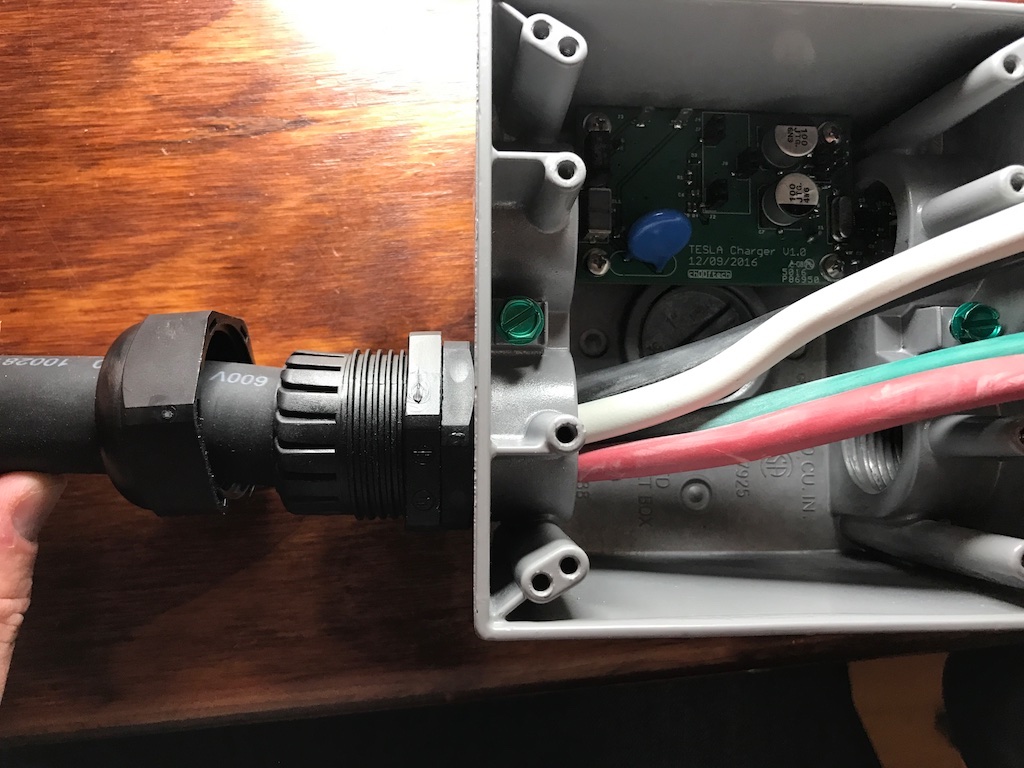
I cut it to about a 2 foot length, and stripped a bunch of insulation off the end so I could route it through my junction box. Here you can see the gland before I tightened it down:
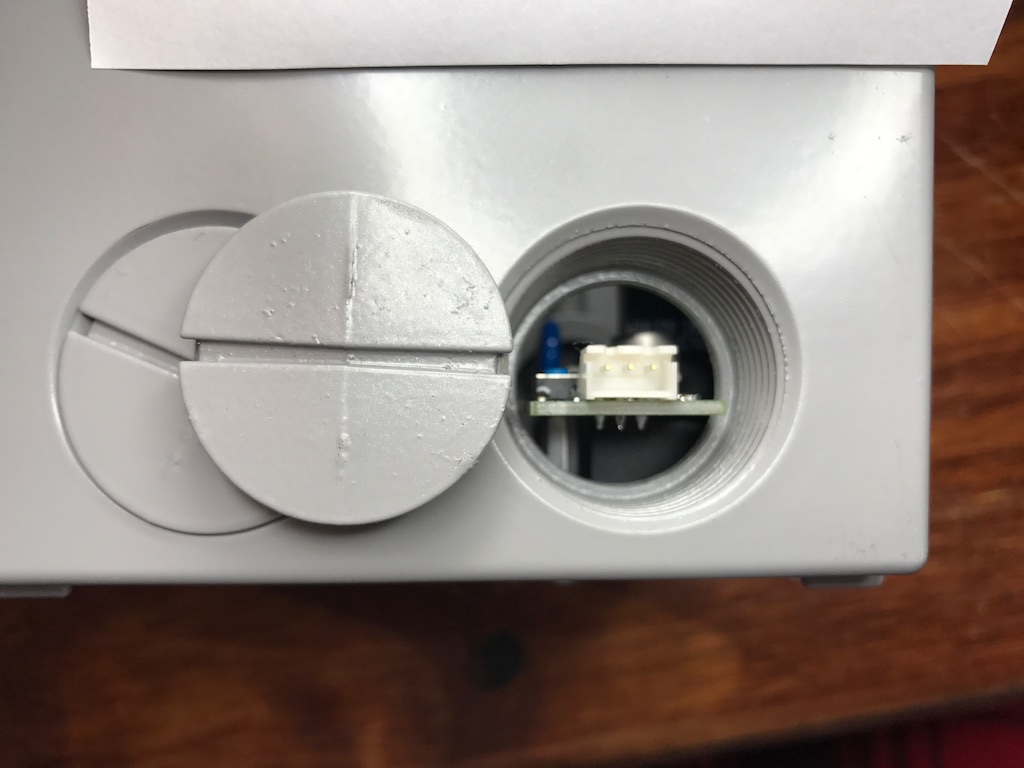
The LED connector was in one of the junction box holes which left a bunch of space around it:
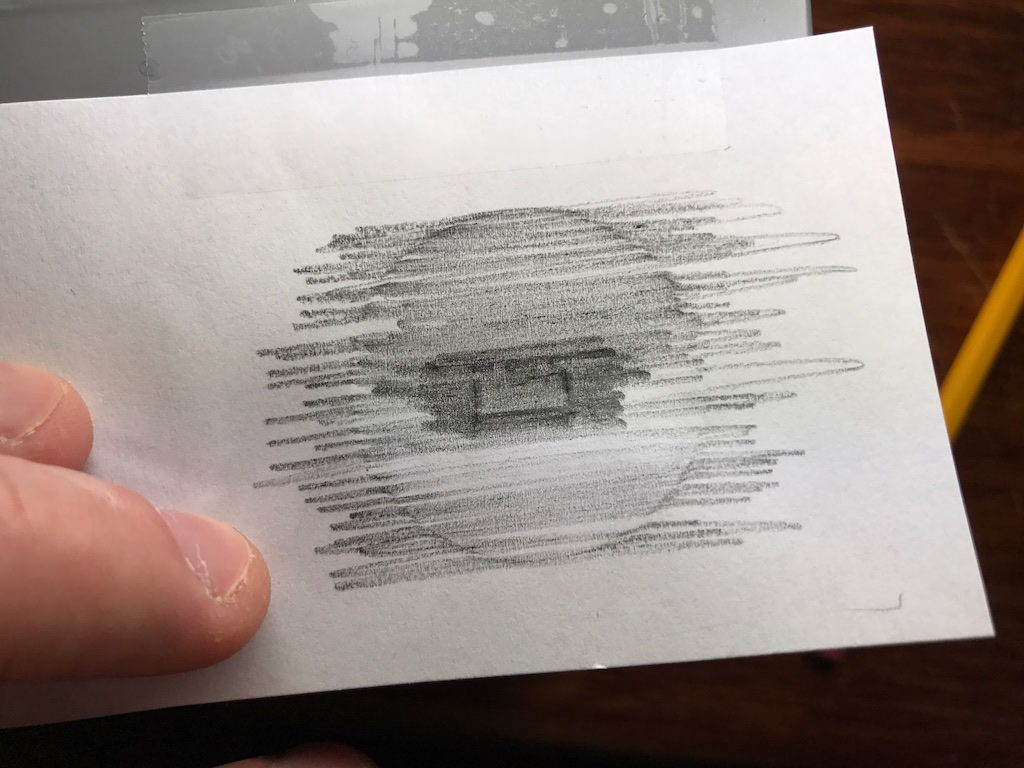
I wanted to pretty it up a bit, so I decided to try cutting a square hole in the cover with my CNC. Measuring the exact position of that hole was a bit of a pain though. I thought I was being super clever with a piece of paper and a pencil:
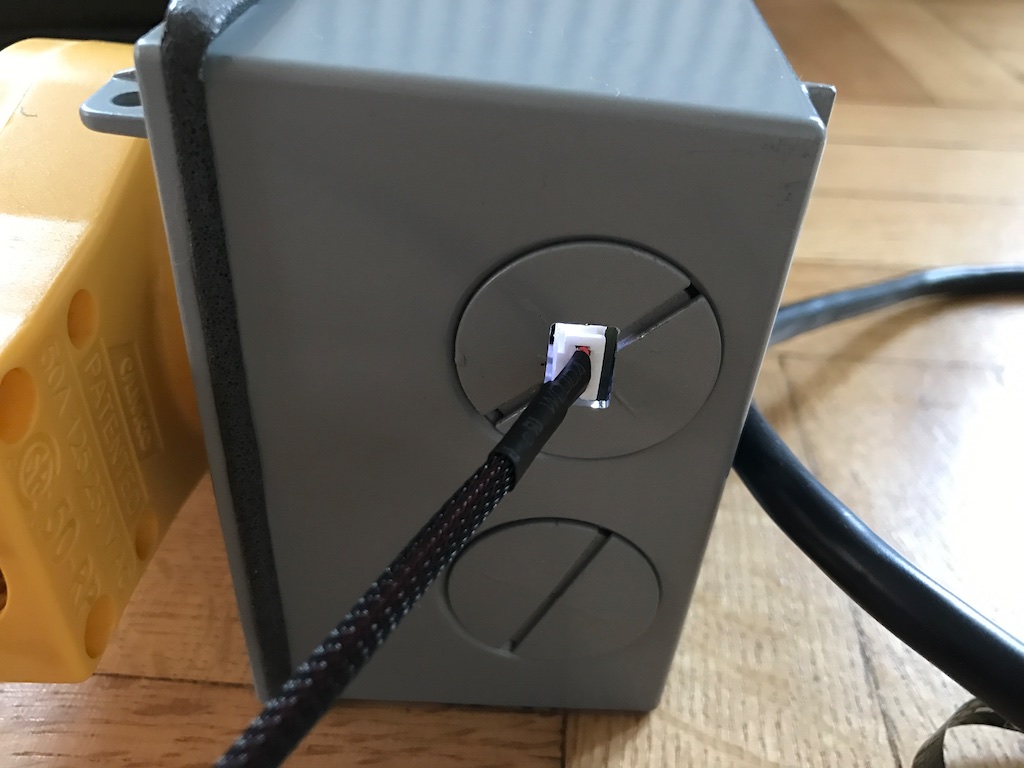
But this didn’t work at all, and I ended up having to cut it twice to widen the hole a bit after I messed up the first time.
As an added bonus, my PCB’s white status LED lights up the LED plug socket pretty well. Kind of a neat feature:
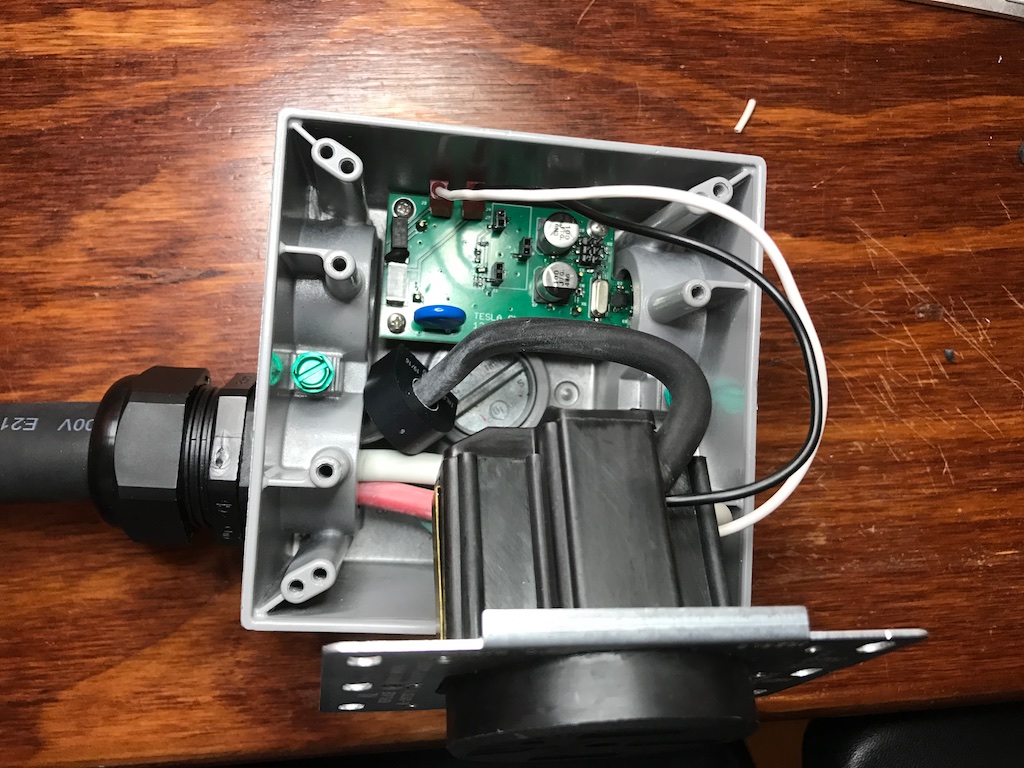
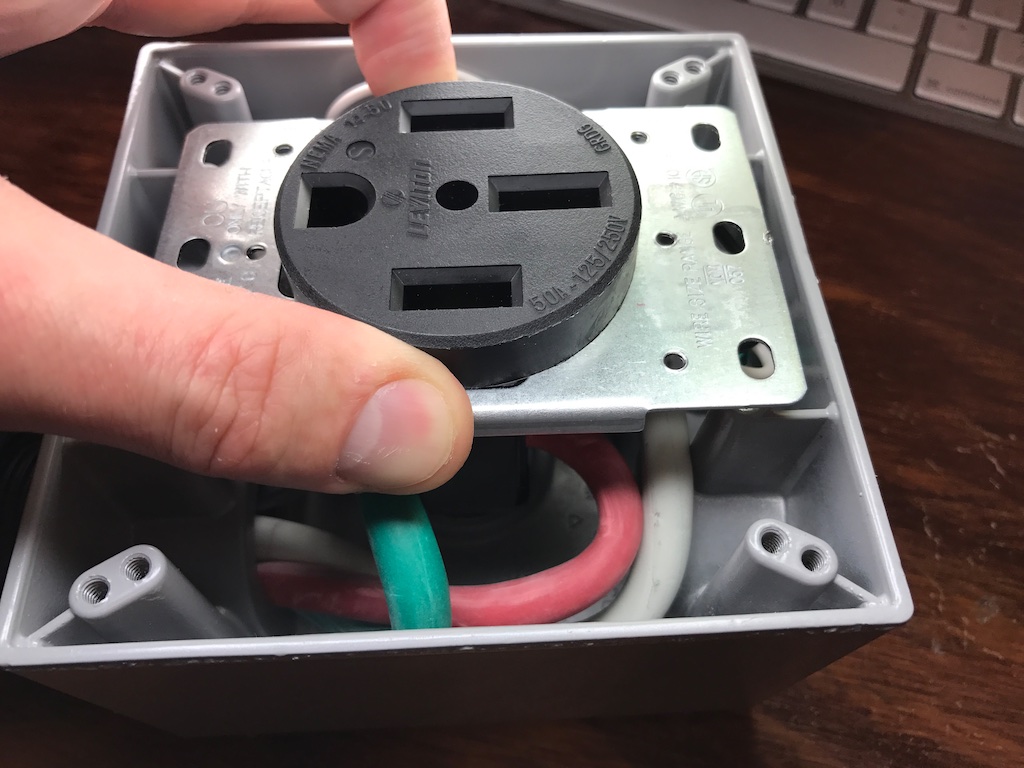
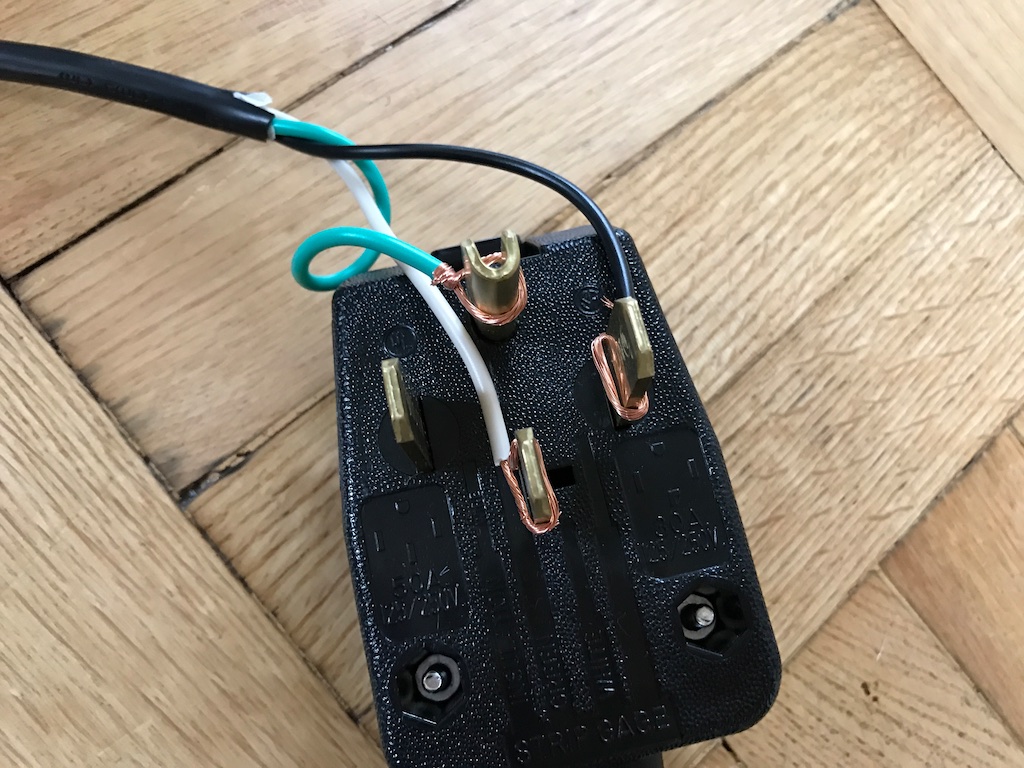
Moving back to the cable, I started trimming and stripping down the conductors to try to fit them into my NEMA 14-50 socket. I squeezed the two power wires for my board power supply along with the main 6AWG conductors into the screw terminals of the socket. Normally in a junction box, all wire/wire connections like this would have to be done with a wire nut, but there was no way I was going to join 6AWG wire with anything in a wire nut that would fit in that box. It’s probably not the most kosher way to make the connection, but it felt really solid once I had tightened down the socket screw:
NOTE: The above image erroneously has the live and neutral lines swapped going into the PCB. The connections shown place the fuse on the neutral wire which will fail to isolate the circuit should the fuse blow. I’ve since swapped these connections before putting the device in service.
And here it is all closed up:
The only plate I could find to cover my socket was a waterproof plate with a cover. It was a little overkill, but it worked. Once it was all closed up, it looked like this:
Testing
Up to this point, I had been using my three-loop extension cord to test my circuit, but I really needed some final reassurance that it would work before I gave it to my dad. Fortunately, a coworker had some family with a Model X, so I had at least one chance to try it out in a live test (and shoot my video), but I wanted to just double confirm everything ahead of time so i wouldn’t be wasting their time with debugging.
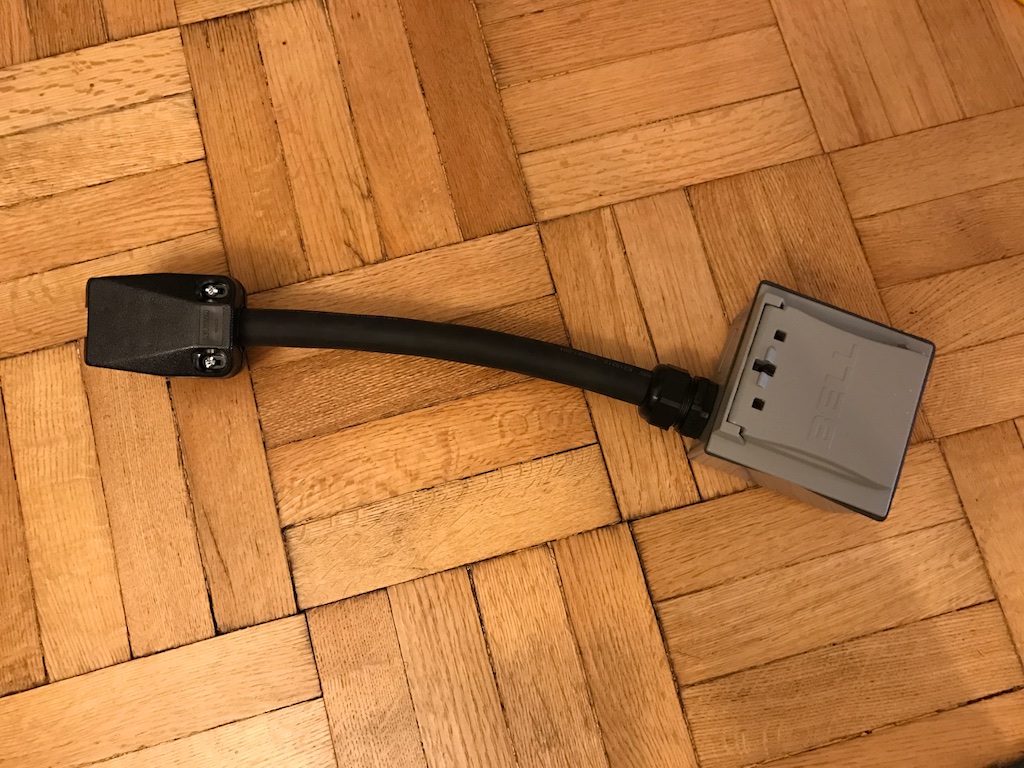
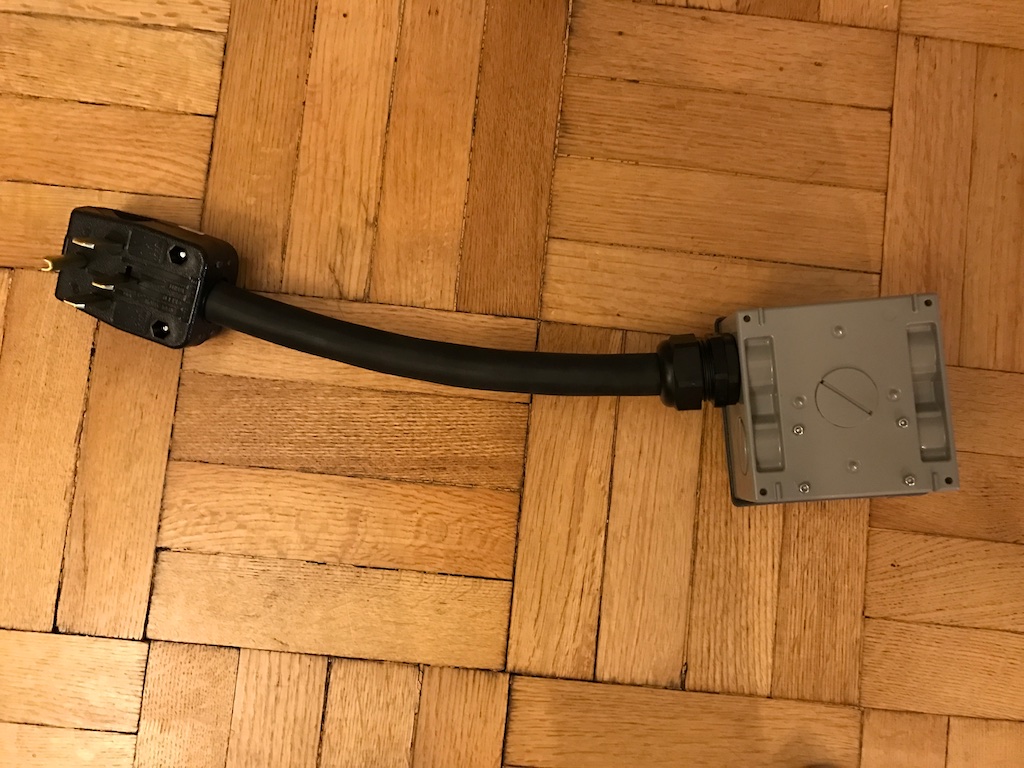
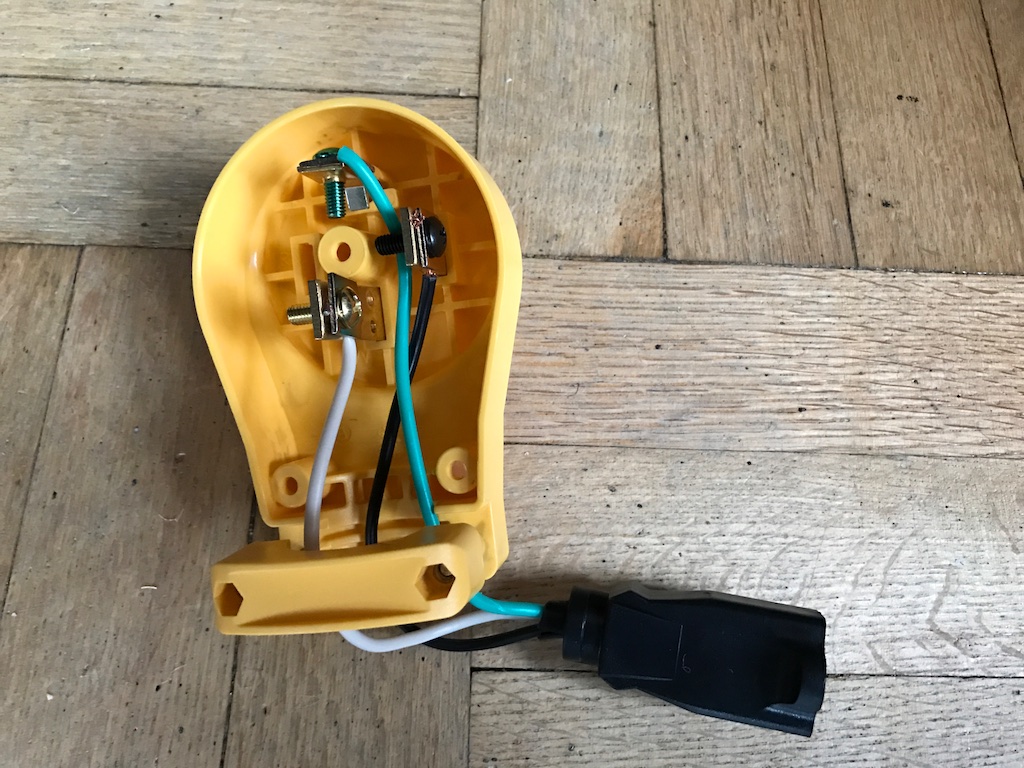
I had an extra NEMA 14-50 plug of a different style that I had ordered thinking it would solve my issue with the poor strain relief on the thinner cable (it didn’t). I turned it into a simple 120V extension cord:
On the other side, I did something that NOBODY READING THIS SHOULD EVER TRY
(Hey, at least I remembered safety ground!)
One of my biggest concerns was the shut-off minimum current which to this point I had set arbitrarily. I had no idea what kind of vampire power the Tesla draws from its plug when not actually charging the battery. I wanted to make sure I had a good handle on what this shutoff current was and that it was sufficiently high enough.
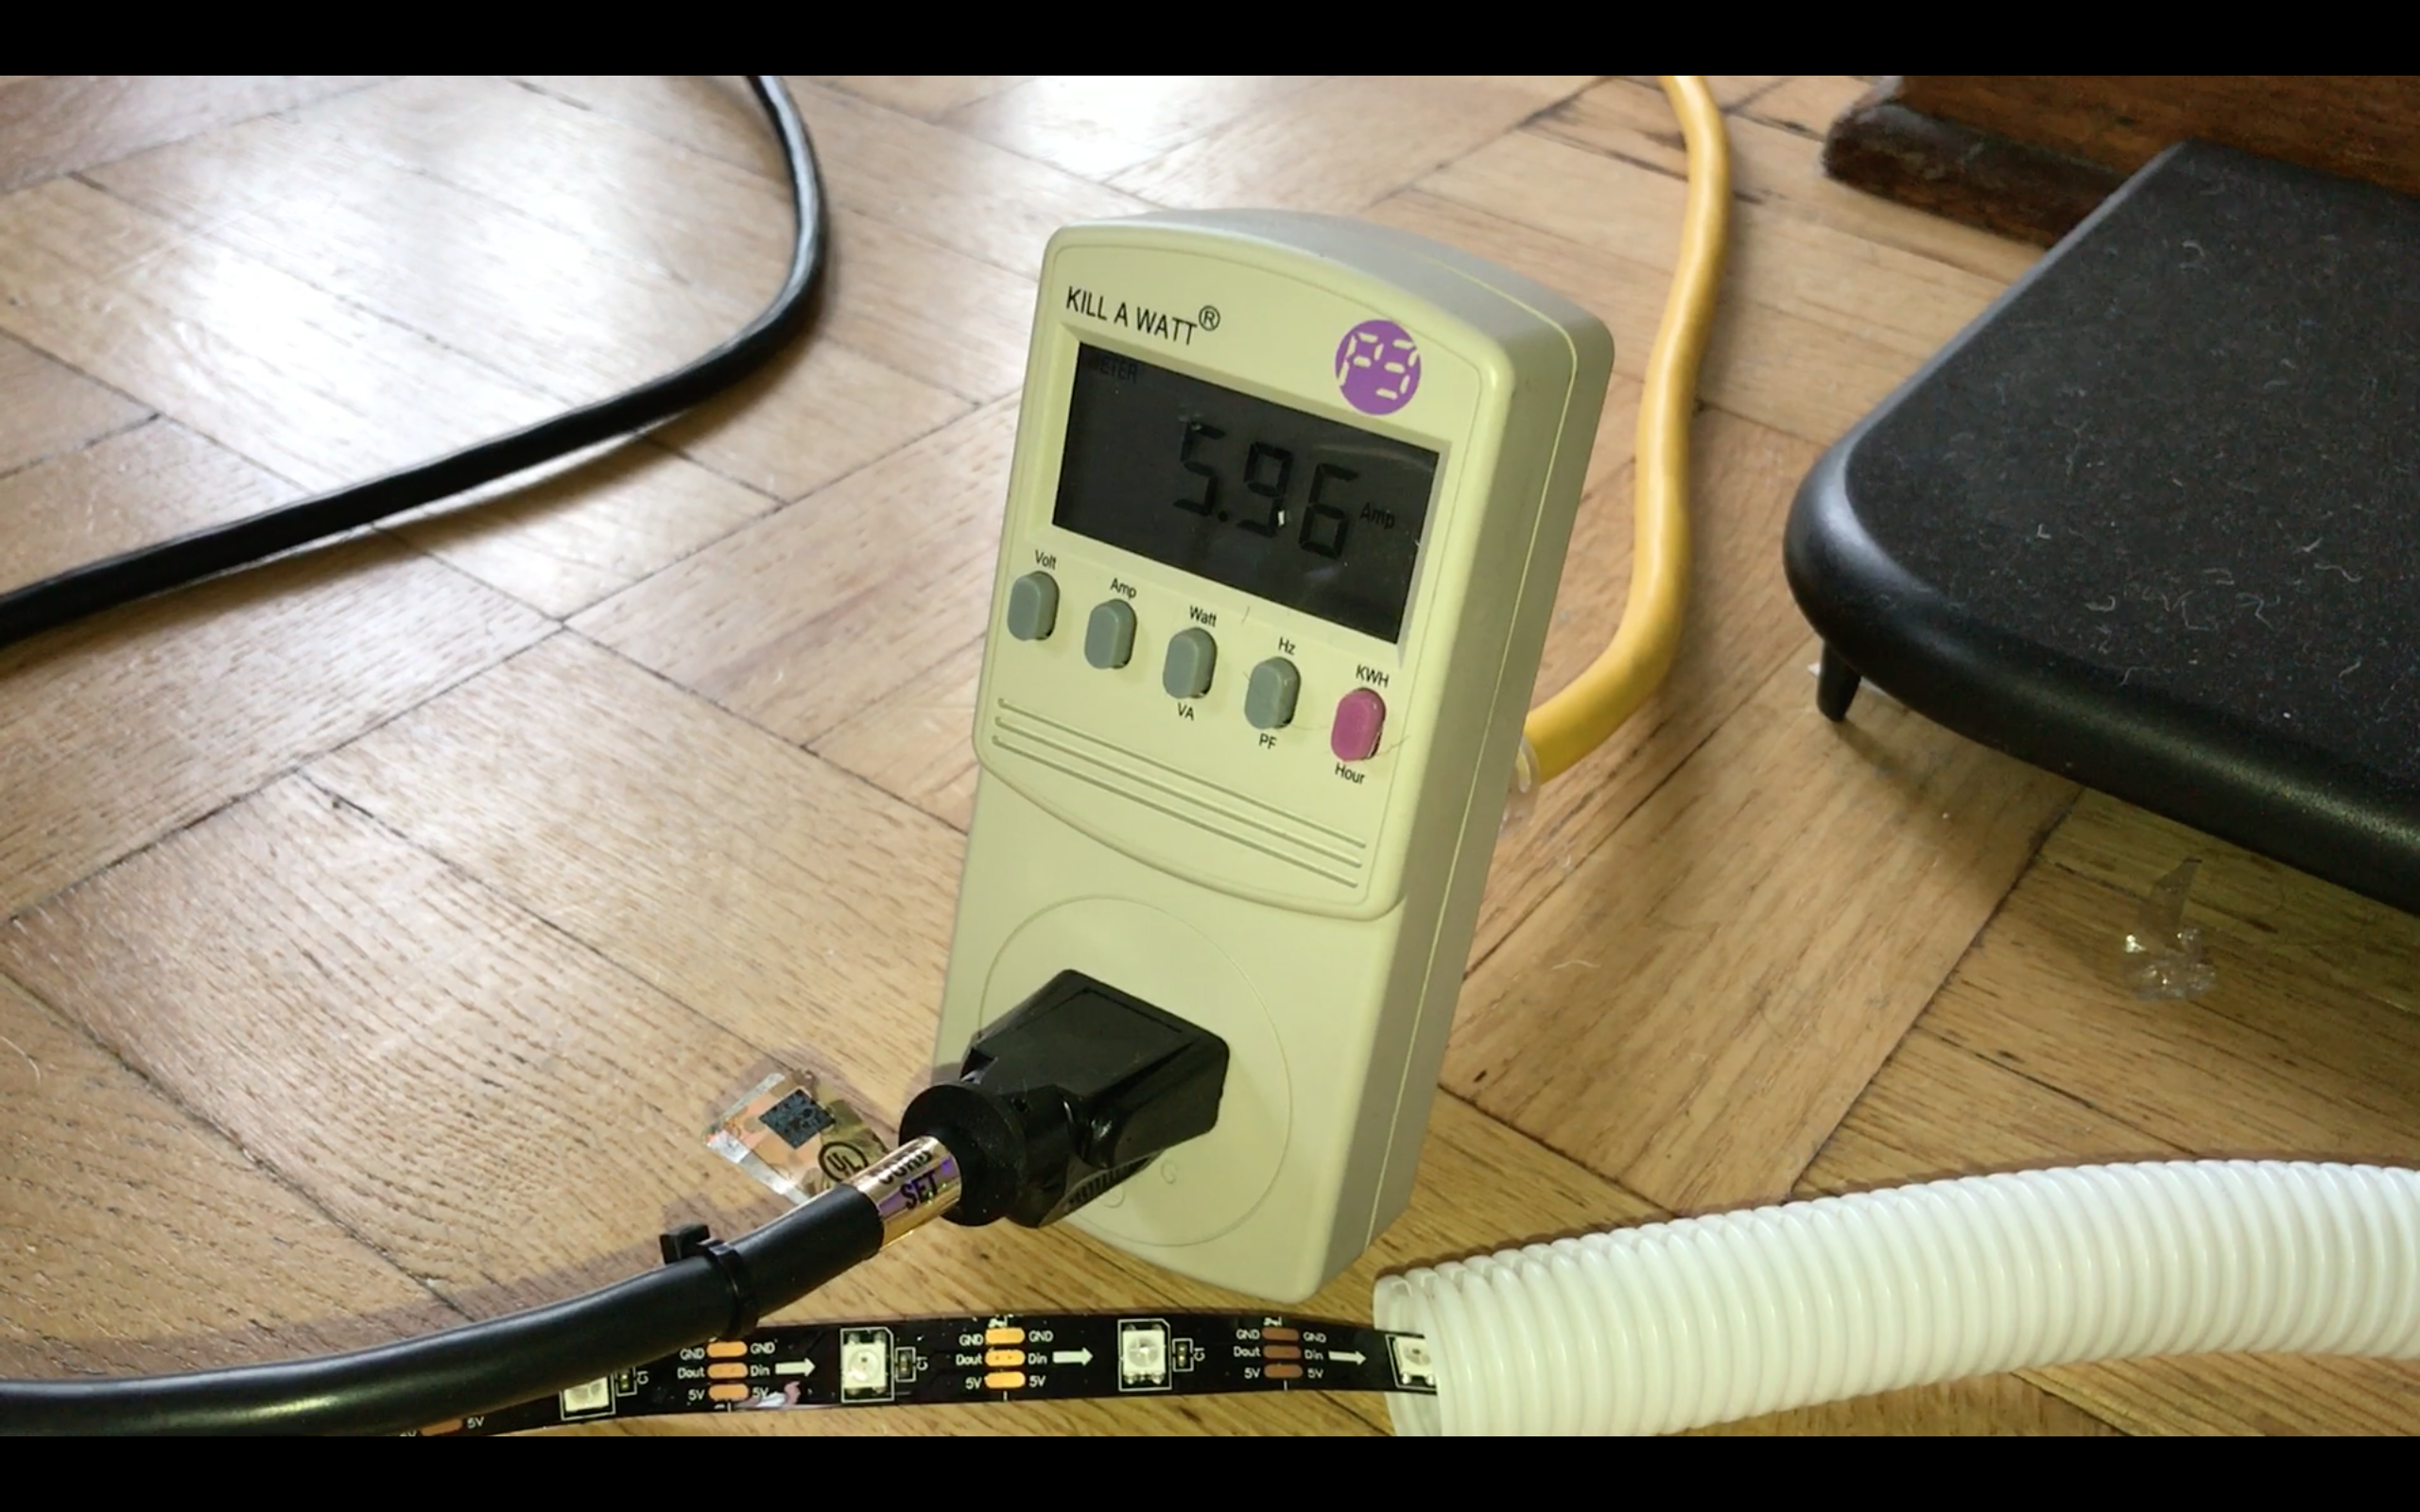
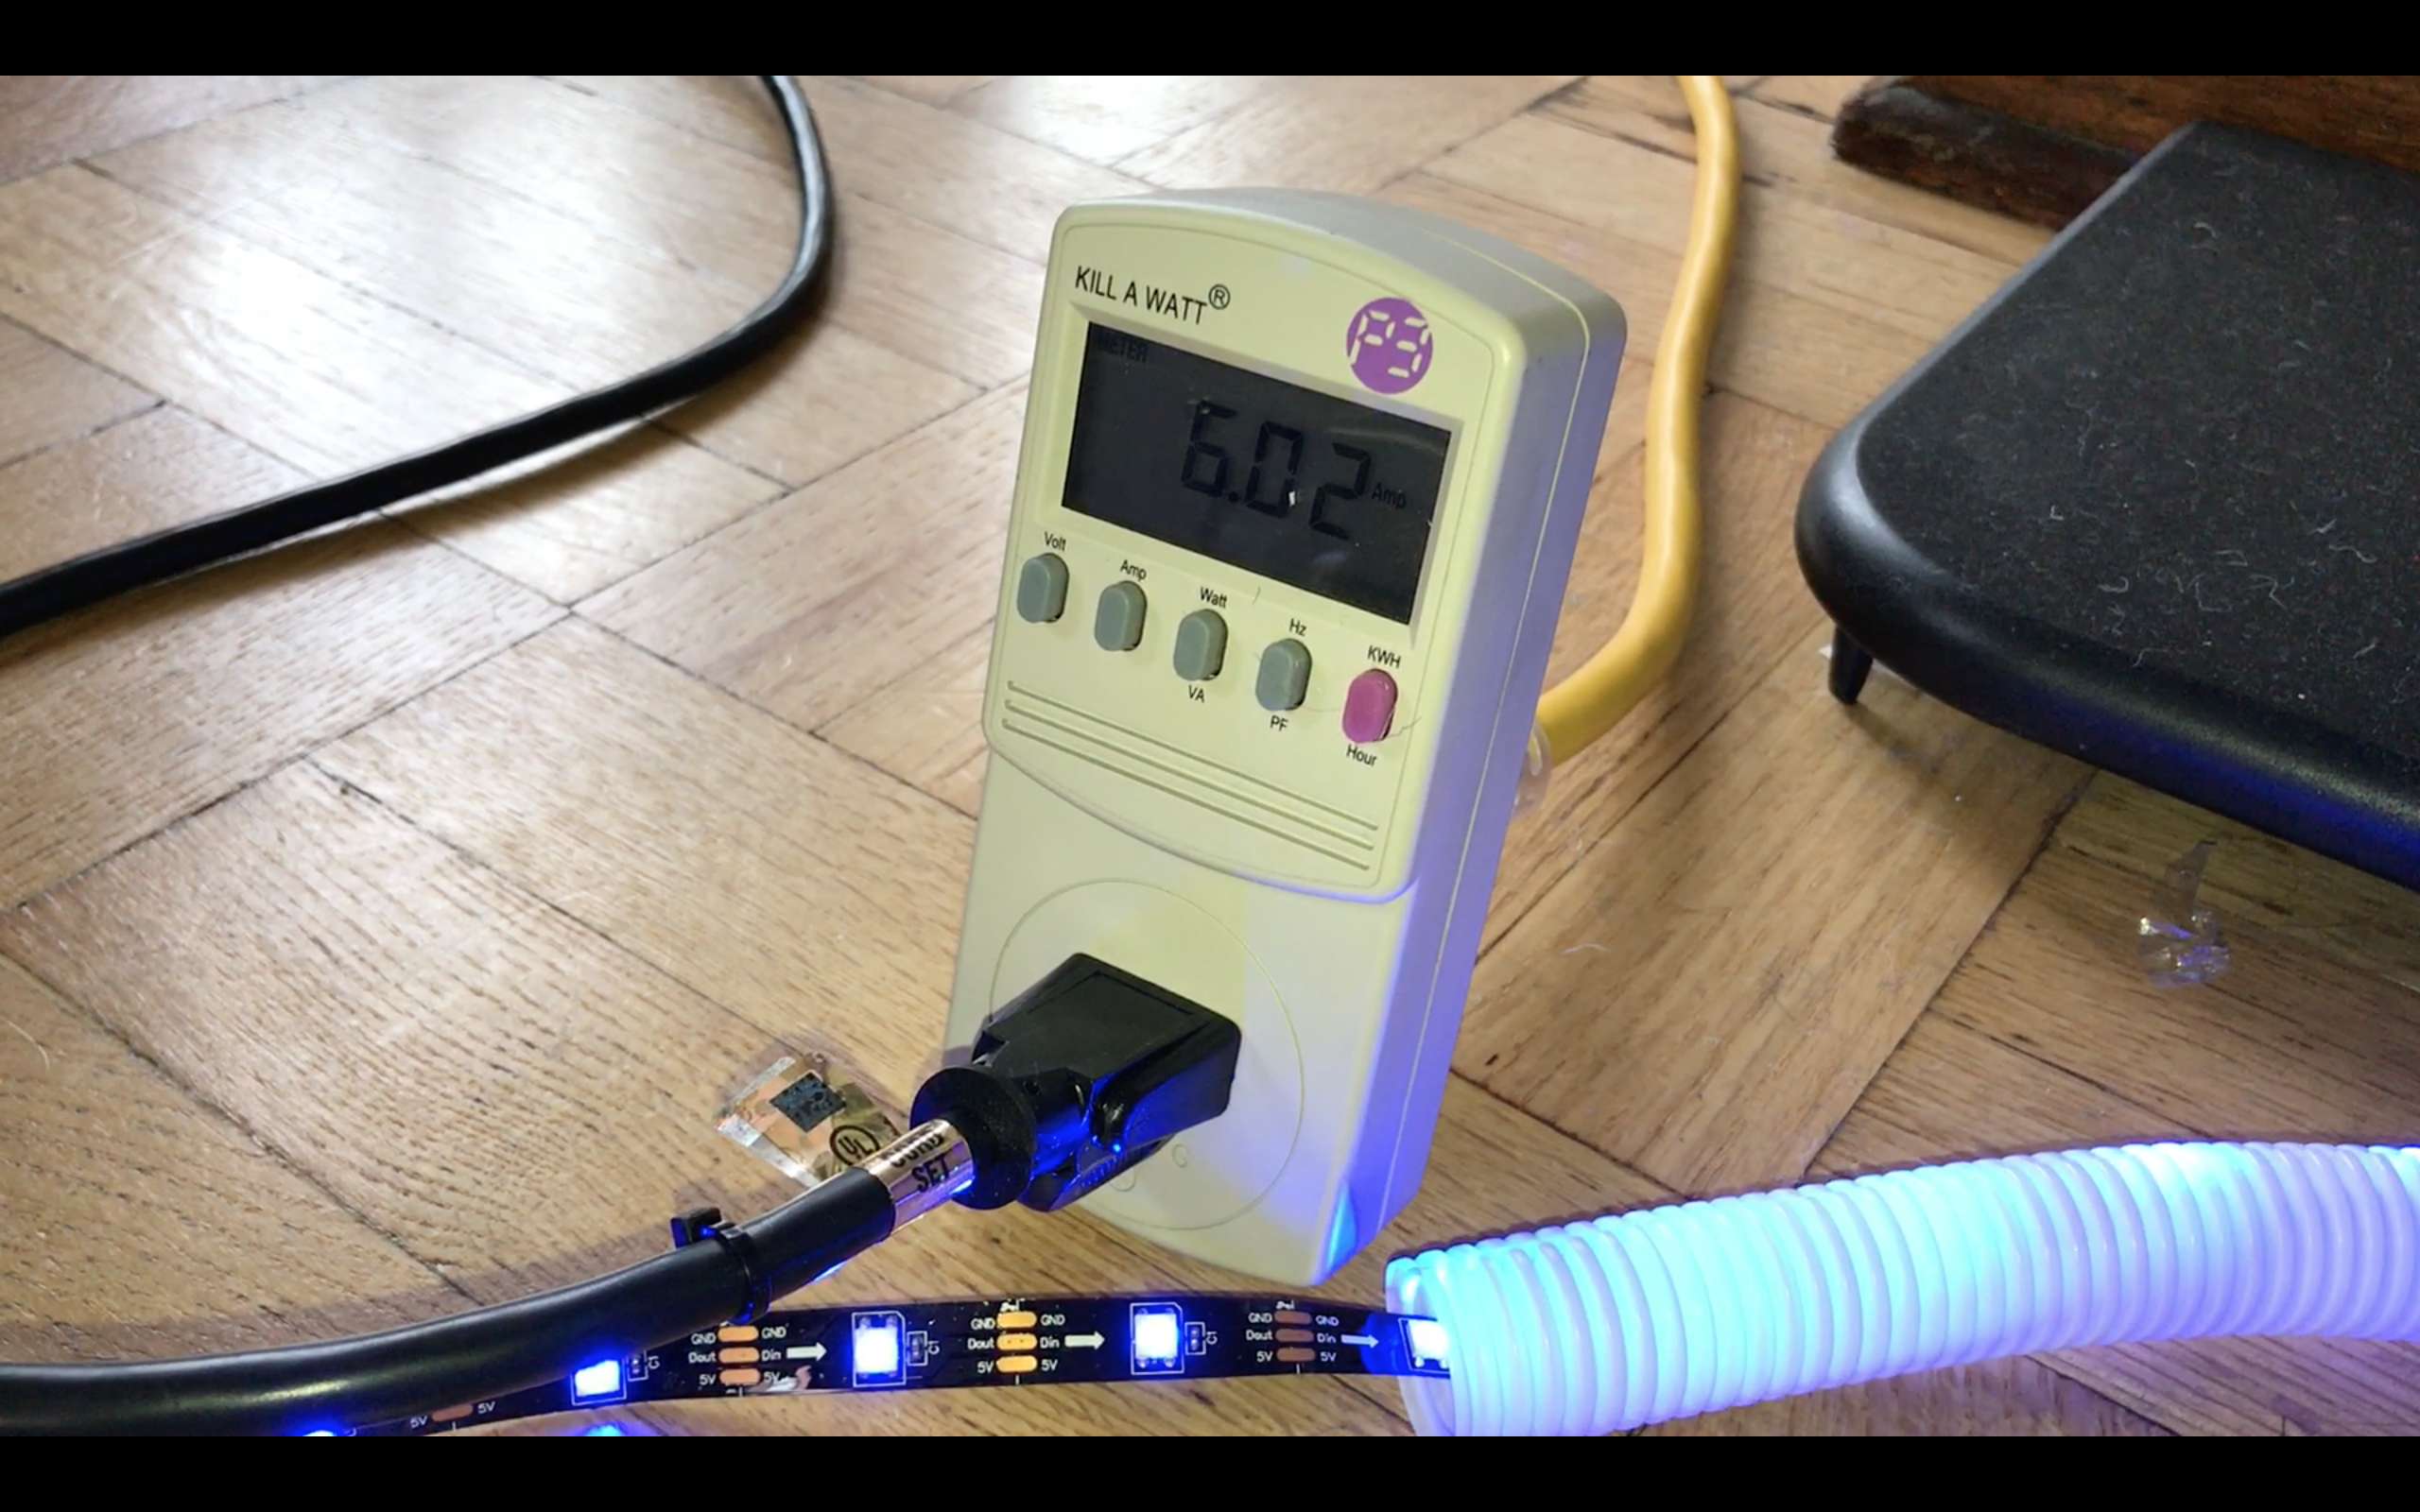
It was hard to find an appliance with a fully adjustable load current. Most high power devices like irons or heaters just toggle between 100% and 0% and use their thermal mass as a low pass filter to approximate an analog value. Fortunately, my space heater tends to gradually ramp current load as its heating element warms up. What I found is that my LEDs cut on at right about 6A:
6 Amps seemed high enough that it wouldn’t get triggered unless the car was actually charging especially since the minimum charge rate setting is 5A.
With my test complete, I quickly disassembled my horrifying hack job testing rig and hid the parts in four different states.
Video
With the device as tested as I was going to get it, I set out to test it on a real car and shoot a promo video for the blog.
My test car’s owner, Stuart, was super cool about me testing the charger, but I didn’t want to take up too much of his time. I was pretty nervous since walking into his garage, I didn’t even know if the wire loom was going to fit properly around the charging cable much less what the standby current of the Tesla was or any other number of other problems that might crop up.
I have to say that as far as real world testing goes, this went about as smoothly as it could have. It was a bit of a pain to get the wire loom on the cable, but once you got it started with a good angle, you could get another foot about every 15 seconds. It was all done in about 15 minutes.
The video clip of me plugging in the cable is actually the first time I ever tested it. I figured there would be some delay between plugging it in and current flow, but I wasn’t expecting it to be quite so long. I was certainly nervous after the first five seconds passed with no lights, but it ultimately worked out. I wish there was something I could do to shorten this delay, but without getting more invasive with the charger cable, I don’t think there is.
Ultimately, I was with the test car for a little over an hour. I was definitely anxious about getting everything in and out of there. I could have spent more time getting better shots of it working, but ultimately I think the video does a good job of showing off the main features in an appealing way.
Conclusion
This is probably my most over engineered project to date. It definitely goes to show that with a lot of careful planning and attention to detail, you can often get things right “on the first try.”
I haven’t given my dad the charger yet (don’t tell him about it!), but I’m sure he’ll like it.
Of course, there’s the little issue of tiered pricing of electricity from Dominion Power which means he mostly only charges between 1am and 5am when power drops from 9.5 cents/kwh to 0.4 cents/kwh, so he probably won’t ever even see the cable work, but
Table of Contents
Firmware, Assembly, and Testing
Download the files for this project here: Animated EVSE v1.1


Very cool, nice job!
Slick project! Don’t have a tesla myself but could use some of your ideas for my future projects.
Pingback: Animated EV Charge Cable Enlightens Us | Hackaday
Pingback: Lit Up & Animated Tesla Charging Cable Is Coolest Homemade EV Device We've Seen - Video
Have you ever thought of working with a firm like evannex.com to make this a product? Or of building these for other folks ()I’m about to get a model S and would love to have one). Even if you sold a kit of the parts, with instructions, that would be cool. Or (better yet) sold the assembled unit that plugs in, and let the purchaser assemble the cable, LED strip, and loom part.
POE provides PCBA assembly, low to medium MASS production volume.
https://chinapcbsmt.com/
Pingback: Hijo regala a Tesla Dad con un impresionante cable de carga brillante para las fiestas | Teslita.net
We provides OEM production services, including PCB, PCBA, from design, procurement, proofing to mass production, etc. to provide a series of complete services to ensure the smooth progress of the project in the production stage!
thank you very much, i like your article, it can help me
http://www.kingfordpcb.com
Amanda just viewed your profile! More info: http://inx.lv/GkWu?h=f36c4c19a87d1f9f56d5deb1d1bc4709-
x7e3yd
hgte3s
9o8rpm
We provides OEM production services
jv06tx
5nxi8p
1exafm
f4oe68
80bmls
o7uooq
shcrbq
h6roz3
3pjdfm
299d37
ih8sl7
6v7x6p
v1p4tc
q37td4
tseoww
yyuqxp