If you saw this guy at a bar, would you say hello?
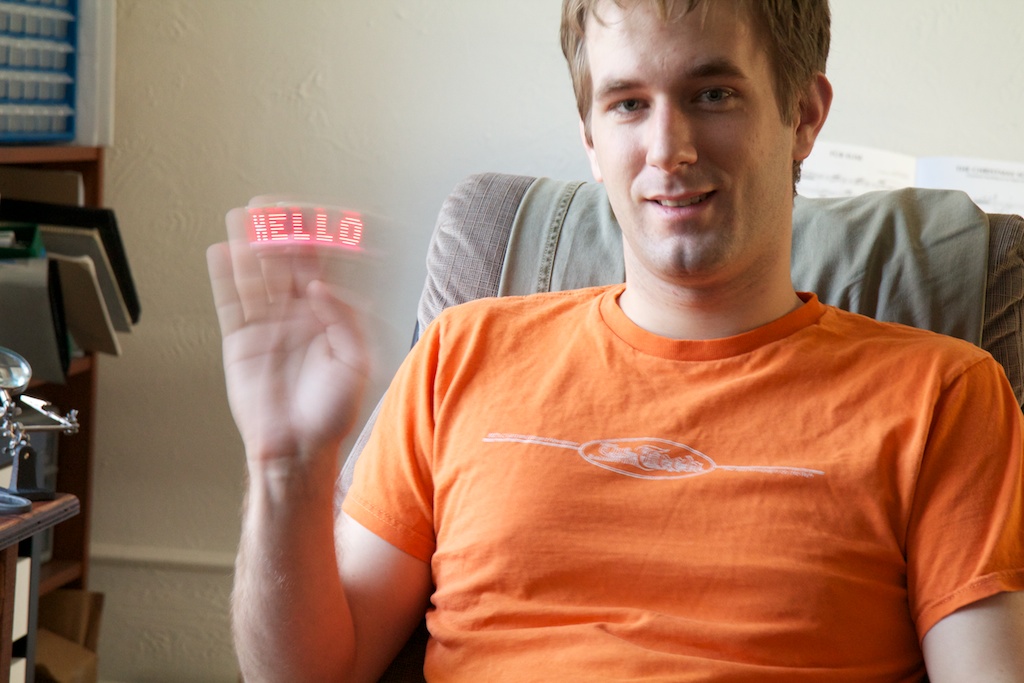 No? What if he shaved and took a shower?
Concept
This is an idea I had a while back after making my persistence of vision toy. Unlike that though, this thing had to be small and lightweight. To accomplish this, I was going to need to etch my own PCB rather than using perfboard. That’s what this was all about. I’ll be providing a tutorial on that later.
So, unlike the persistence of vision toy, I wanted this thing to have some sense of where it was in order to blink the LEDs properly. All I needed was a single trigger at a set location. I could then use the time between triggers to calculate how fast the user is waving the device around and use that frequency to attempt to blink the LEDs at the same location in every cycle. Image stability makes text much easier to read.
My original thoughts were to use an accelerometer, but that presents several unknowns. For example, as the user is waving to the right, he or she might actually be slowing down slightly which would register as a leftwards acceleration. Also, accelerometers are generally fairly expensive, and I was trying to keep costs down. I decided to consult a similar gadget and do some reverse engineering.
Here is a toy I bought a few years ago:
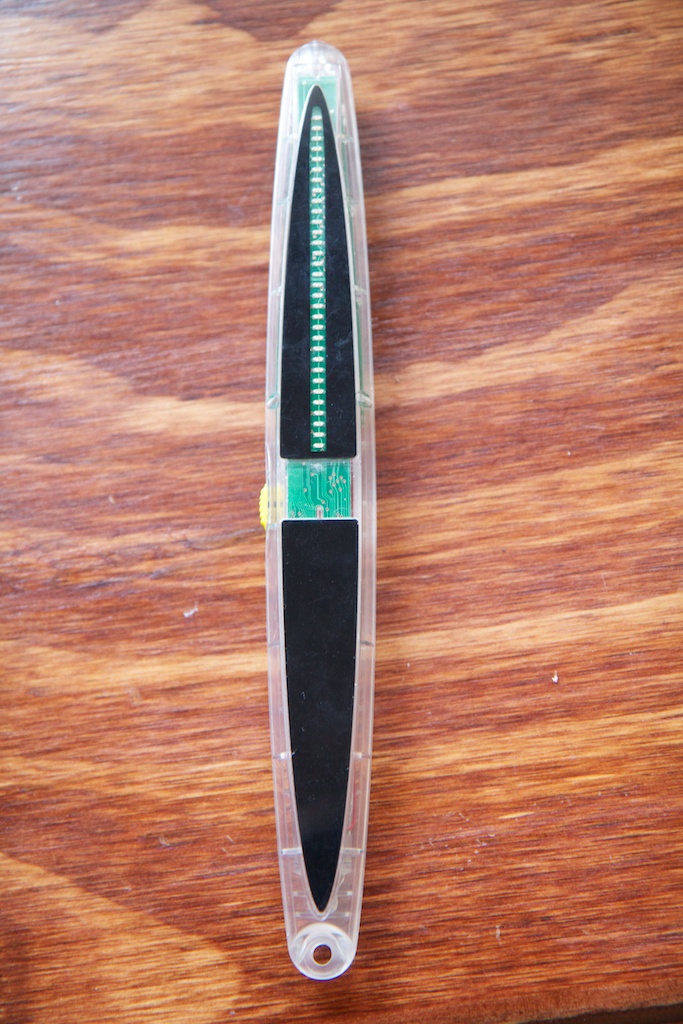 It’s a scanner/display which is actually pretty cool. I don’t know who makes it, and I can’t find anything about it online, but they used to sell them on Thinkgeek. The user can use the LEDs as a scanner to scan black and white images (using a technique that I will be trying out shorty) and then wave it back and forth to display the images in midair.
The question is: how do they display the images so smoothly? I was about to crack the device open to see when I saw this:
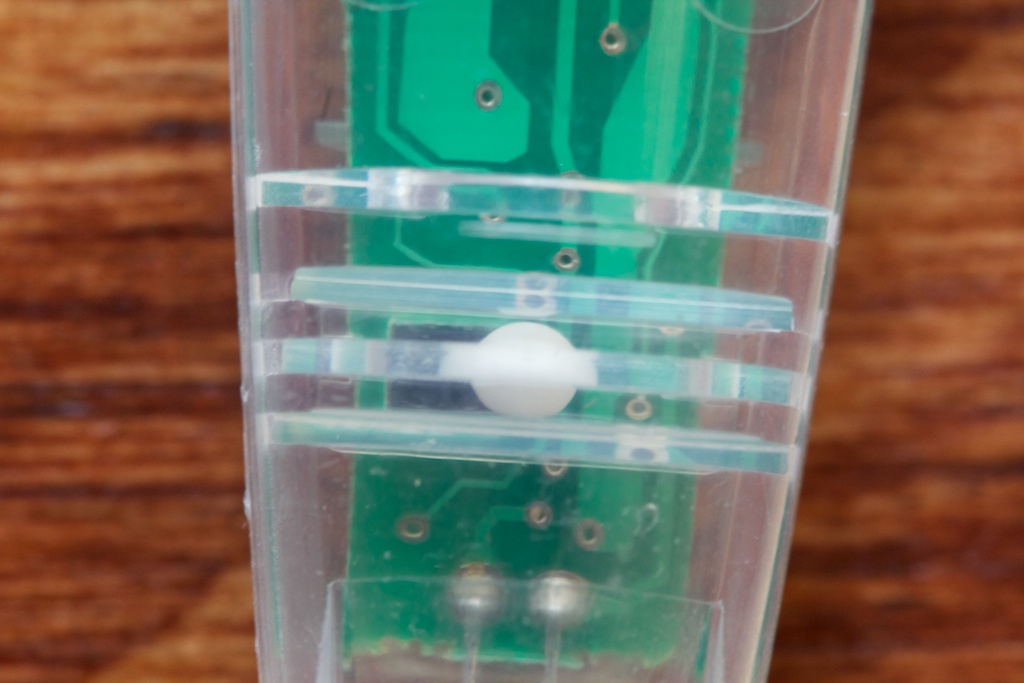 It looks like they just have a white marble that rolls around and a proximity sensor that detects when the marble is overhead. This has several advantages over the accelerometer. Namely, it doesn’t require any sort of signal processing. The ball is either there, or it isn’t.
I wasn’t able to take a picture of this, but using a pair of night-vision goggles (what? they’re cool. Screw you guys), I could see that this proximity sensor was emitting infra-red light. The sensor is basically an IR LED and an IR sensor. When the IR light bounces off the marble, the sensor picks it up.
Construction
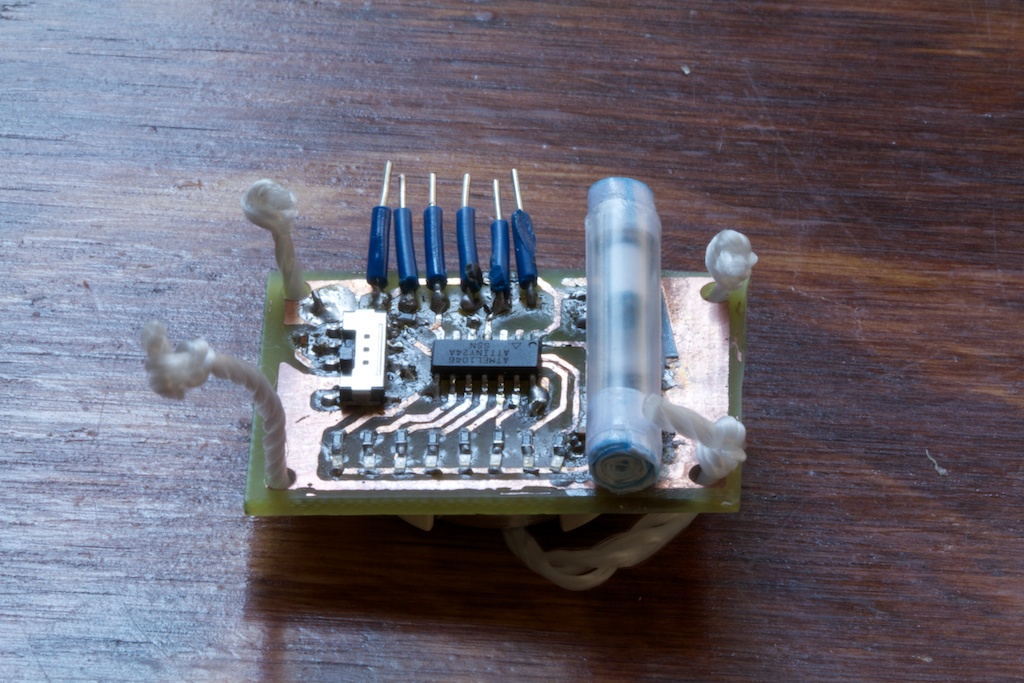
Keeping that in mind, I made this:
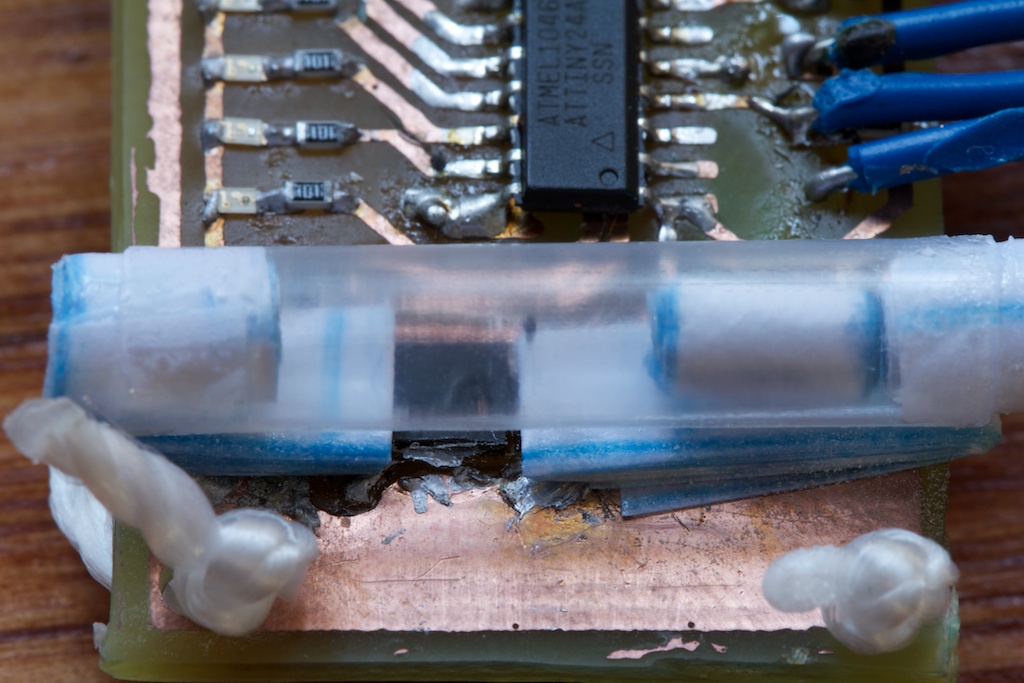 Same basic concept. The channel is a plastic drinking straw from Chipotle (very important. It won’t work if it’s not from Chipotle), the end stops are rolled up paper, and the “marble” is the shaft of a nylon screw wrapped in paper. I had to cut a small window out of the bottom of the drinking straw, because even though it’s clear, it reflected enough IR light at that close a range to register on the sensor.
All together, here’s the gadget:
- ATTiny24 – I tried using a ATTiny20, but found that there is very little support for that crappy chip.
- SFH7441 proximity sensor.
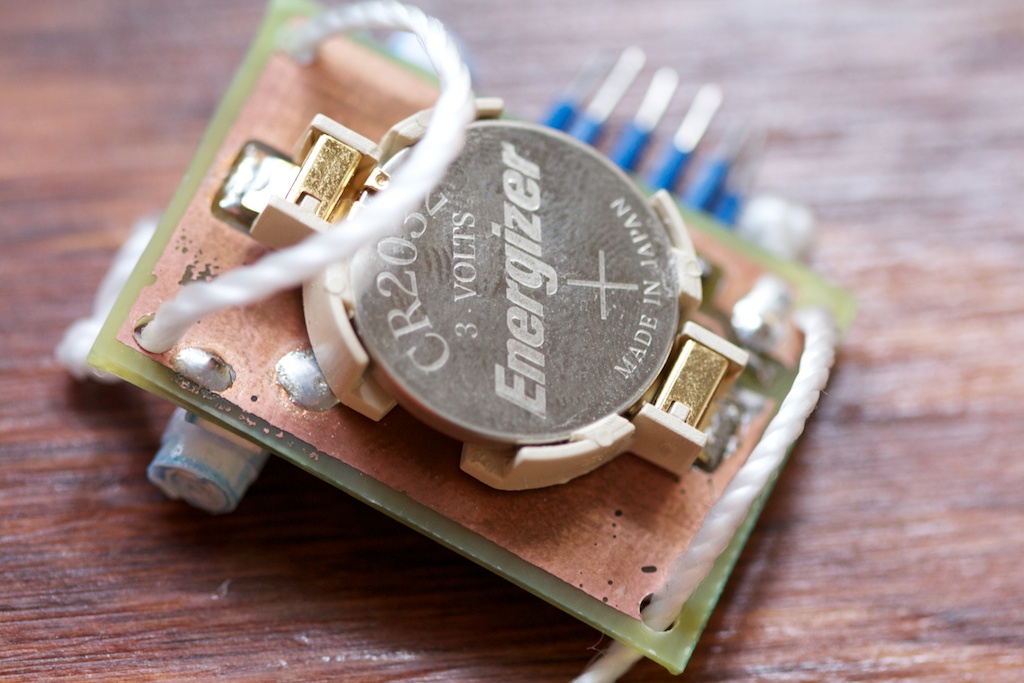
- CR2032 battery. This is a 3V cell, so I had to use a low-voltage micro controller.
- DP3T switch. The idea here was to have three different positions: Off, “Hello”, and “Goodbye”. One side of the switch is power (handle’s the “off”), and the other side feeds into an input line that determines whether you want “Hello” or “Goodbye”. I haven’t implemented this feature yet, but I might later.
The code for this thing is pretty nifty. I managed to do all of it in hardware interrupts. There’s an external interrupt provided by the sensor, and an internal clock interrupt that helps keep timing. Every time the clock interrupt fires, the code adds one to a tally. When the external sensor interrupt fires, it looks at that tally and uses it to determine how fast the user is swinging (faster = lower tally). It then divides that tally by the number of columns to be displayed. This last number is used every clock interrupt to determine whether or not to display a new column.
Problems:
Once I got the firmware written, I wasn’t exactly pleased with the performance of the device. My original plan was to have it paint “Hello” on the left-right swing and “olleH” on the right-left swing. I quickly found that this was a bad idea as most people don’t wave exactly symmetrically and the letters rarely line up correctly (my reference toy also only “paints” in one direction likely for the same reason).
After fixing that, I still wasn’t very happy. I noticed that discounting all of my timing issues, the start of the “H” wasn’t showing up in the same location every swing. I quickly began to suspect my proximity sensor wasn’t firing properly. I took a peek at the data sheet, and found this:
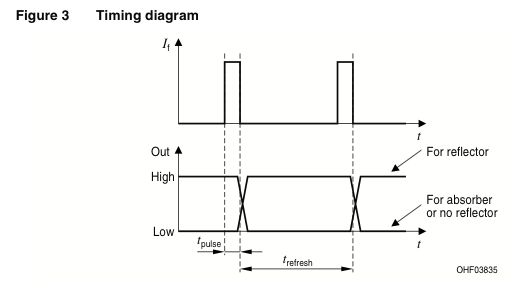 Turns out the sensor is actually pulsing it’s sensing ability (I actually noticed the IRLED blinking when I looked at it through my IR goggles). What’s worse is this:
 That middle number is the typical refresh time of the sensor. 90ms is nothing to scoff at. Assuming I’m swinging at 3Hz, that’s only about 160ms per left-right swing. What’s happening is that the sensor isn’t registering my swing until I’m part-way through with it! What’s worse is that unless I’m swinging at a rate evenly divisible by 90ms, the “start of swing” will move around as time goes on. What a pain!
If I swing slowly enough, the text stays reasonably still though. I might be making another one using a better sensor in the future. They sell sensors that are simply photodiodes and LEDs where you get to set the refresh rate yourself. I’m pretty sure this is what my toy uses (it has four leads). I’m still trying to figure out why there’s an entire class of blinking sensors. Perhaps pulsing the LED makes it more power efficient? Some of them have refresh rates up to 1MHz, but even the 200Hz sensors cost upwards of $30.
Conclusion
All in all, it was a fun project. The hardest parts were etching the board and writing the firmware, and now that I’ve got all of that figured out, I can make another one with a better sensor in no time. I’ll order some parts and try it again soon.
Here’s a video of it in action. I used some Hollywood magic to approximate your persistence of vision using the “echo” effect.

The toy scanner is called LighTalk LED Scanner. Nice DIY sensor, btw.
Very nice! I just need to find one of those Chipotle straws.. Thanks for sharing!
Very clever “motion” sensor! I’m going to make one too. Thanks for sharing.
Sweet hack, cuz! That’s some impressive DIYing in your accelerometer. I caught a link from your project over at HackADay; your tag Ch00f caught my attention. I figured it was a one Ciuffo or another; I was even more pleased to see it was a family member.
No way! How’ve you been man? I haven’t seen you in like …10 years? I heard you moved to Norway. How is it?
Pingback: Longboard Wheel Display | ch00ftech Industries