So, the good news is that my laptop is up and running again despite Apple designing their software to be too user-friendly to actually work (it’s cute when it’s PhotoBooth. Less so when it’s 10,000 of my photos).
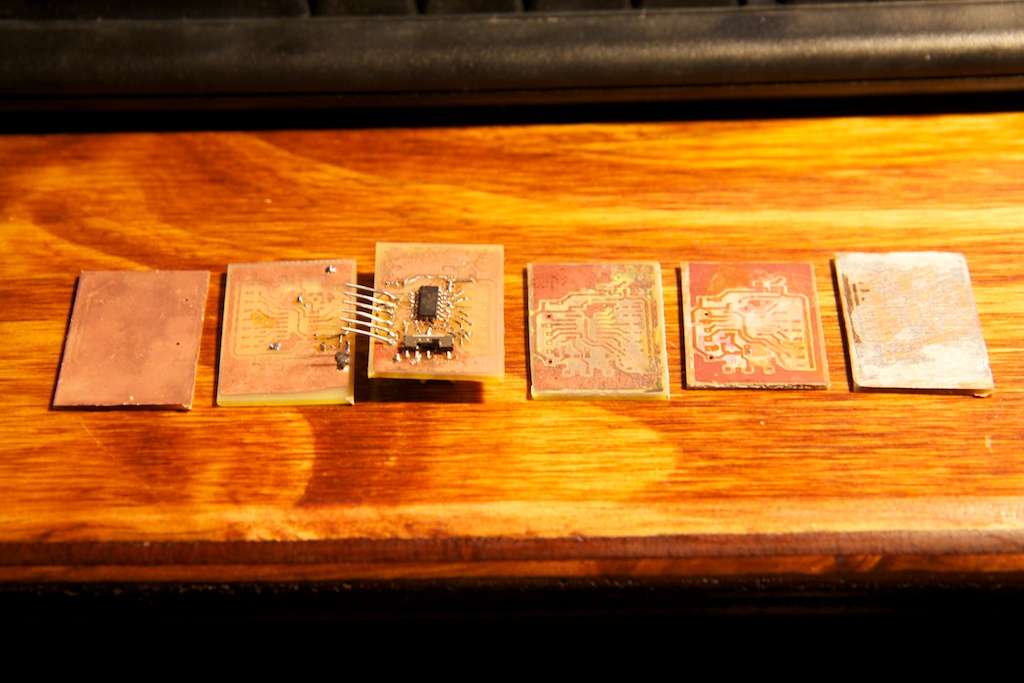
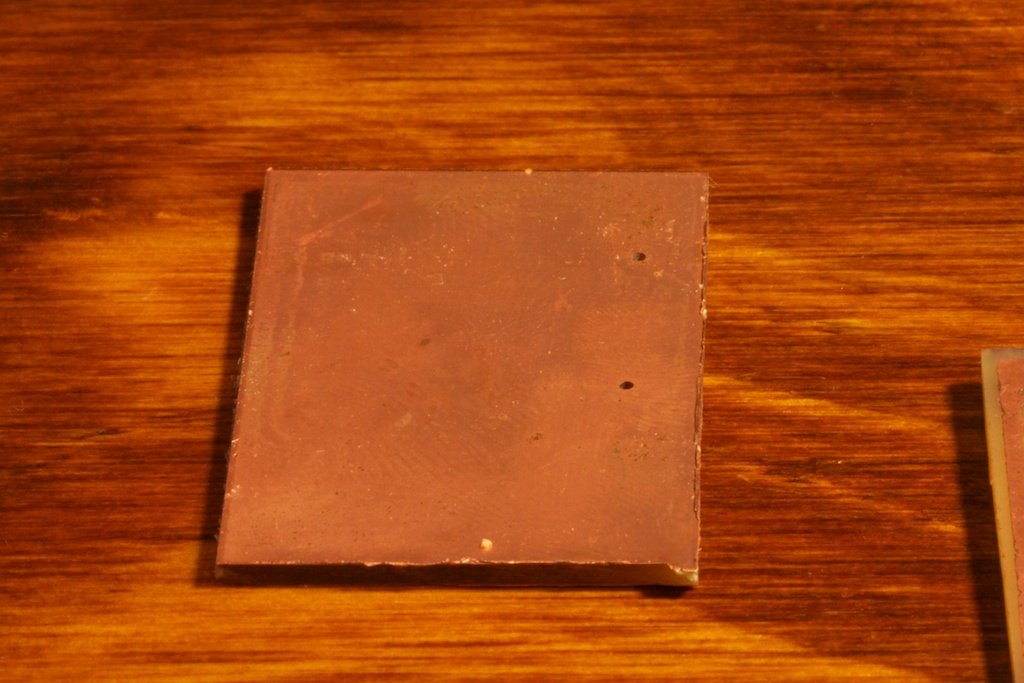
The bad news is that my attempts at making a circuit board were complete failures. See results below:
The first five of these were made using the UV exposure method, the latter was me falling back on the toner-transfer method (and melting the paper itself onto the copper).
The purpose of this post will be describing what I think went wrong, and how I plan on fixing it in the future. Before I can do that, I need to explain exactly what the UV exposure method entails.
I’ll be writing a proper how-to guide in the future (with pictures), but this is just a quick explanation.
The Method
In order to use the UV method, you need special substrate-coated copper sheets. There are two types of substrate: positive and negative resist. Positive resist is softened by UV light and the UV-exposed areas are washed away. Negative resist is the opposite. I used the former.
The circuit board “artwork” is first printed on a sheet of transparency film. The transparency sheet is then laid on top of the substrate-coated copper sheets with a transparent glass or plexiglass weight on top to hold it down.
The combination is then exposed to UV light for a period of time. The toner on the transparency sheets protects certain parts of the board from UV light. When it is done, a special developer is used to wash away the sections that were exposed leaving only the traces that exactly match the pattern that was originally printed.
The board is then washed in acid. The areas still covered in substrate are protected while the unwanted areas are washed away.
So what went wrong when I tried this? I have a few ideas.
Errors
- Developer was too strong
- Boards were too cheap
- Printer doesn’t print dark enough
- Acid agitation was too non-uniform/rough
Developer was too strong
Rather than ordering special developer, I opted to make my own. Developer is really nothing more than NaOH or “lye” of a certain concentration. Unable to buy pure lye (thanks crackheads!), I had to purchase Drano which contains high concentrations of lye (among other things).
I purchased two types of Drano: Drano Max Gel, and Drano Kitchen Crystals. The latter is what I used for most of my experiments. It took me a while to realize exactly what the stuff is, but it appears to be powdered lye mixed in with metal shavings and a few other things. The Lye dissolves the metal shavings (probably Aluminum?) and foams up presumably helping clean your pipes.
The issue is that this creates a time differential of developer potency. As I was trying to add just the right about of crystals (a guess-and-check procedure), the mix was actually becoming more dilute over time. What usually happened is that I would end up having to add a lot of Drano all at once creating a super strong solution that would dissolve everything off the board, not just the UV-exposed substrate.
I also tried the gel Drano for one of my final trials, but I still couldn’t find the right concentration and ended up over-developing my board. To fix this problem, I purchased a graduated cylinder, and I plan on running a few trials of known concentrations to figure out which mix works best (rather than guessing).
Another thing to note is that the substrate tends to need some gentle scrubbing to get the developed bits off. I have to be more careful with this step as it is easy to scrub the entire surface off.
Board was too cheap
The board I purchased was manufactured by a company called “Injectorall Electronics” (but I hardly know ‘er!). Most of the reading I did online referred to a company called MG Chemicals. MG is actually the company that made the UV lamp that I bought.
The Injectorall boards are almost half the price of the MG boards, and I think it’s possible that they are just really crappy. It didn’t help that the substrate on those boards was nearly the color of bare copper so it was difficult to see when they were properly developed. I think the MG boards have dark black substrate.
For next time, I hunkered down and bought one of the more expensive MG boards. It’s still only ![]() 150 minimum order at Advanced Circuits. Especially considering this will mostly be for small one-off boards.
150 minimum order at Advanced Circuits. Especially considering this will mostly be for small one-off boards.
Printer doesn’t print dark enough
This one is less likely to be a real issue, but it’s worth addressing. My printer’s toner cartridge is a bit old, and it’s definition of “black” is really more of a “gray”. It’s possible that some UV light is seeping through the black sections and weakening the substrate beneath.
To fix this, I ran over the traces and copper pours with a sharpie just to make sure they were properly blacked out. It might not be an issue, but for a small board, blacking it out like this only takes a few minutes and only needs to be done once per design so I plan to err on the side of caution.
Acid agitation was too non-uniform/rough
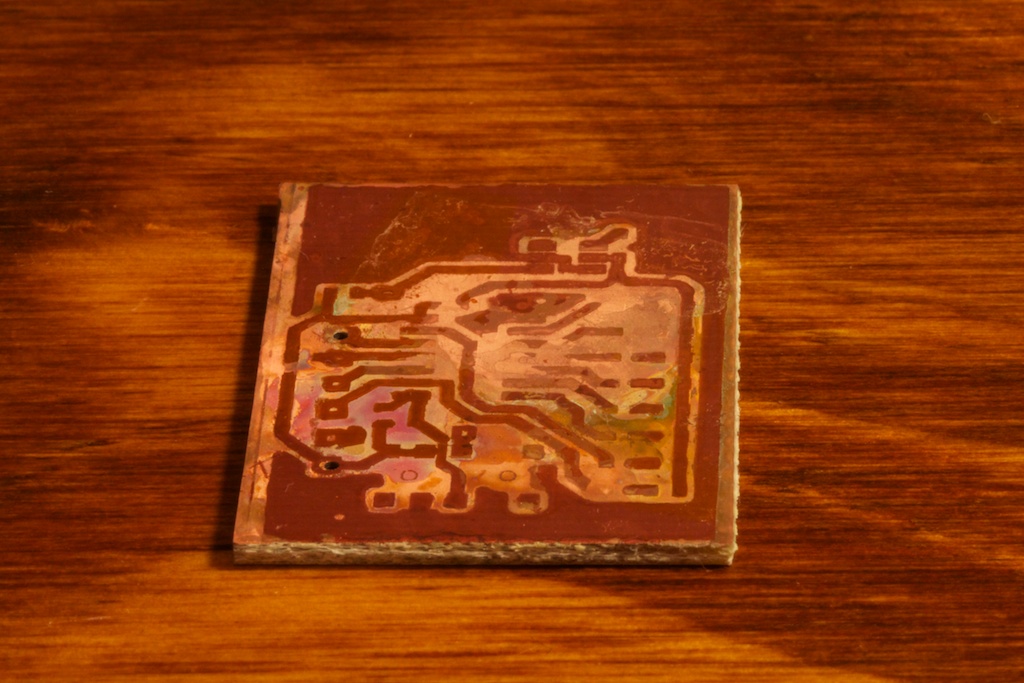
This one calls back to my post from last week about copper etching. I’m still not really satisfied with the performance of my acid. The acid is probably fine, but I found that when agitating it, I was often times rubbing off substrate by accident. I’ve also been unable to aerate my acid enough to get the copper to precipitate out.
Here you can see where I got part way through etching when some of the substrate (dark tan) came off.
To fix all of this, I’m going to be building a special etching tank that includes a fish tank bubbler that should make sure there’s plenty of air in my acid. The bubbles will also serve to agitate the board for me and make sure that fresh etchant is always flowing over the copper.
I also purchased a fish tank heater that will get my solution hopefully up to around 115F which will greatly speed up the etching process (some claim that it works in six minutes!).
I’ll be assembling the tank when the parts come in later this week.
Conclusion:
I’ve dumped quite a bit of time/money in to this, but I think the outcome will definitely be worth it. I really liked the persistence of vision toy I made a few weeks ago specifically because I made it so quickly. I don’t want to have to wait three weeks for boards to come in. If it’s a bit of a pain to make them myself, I’m up for it.


Pingback: Strongerer Glasses (with digital EL sequencer) | ch00ftech Industries