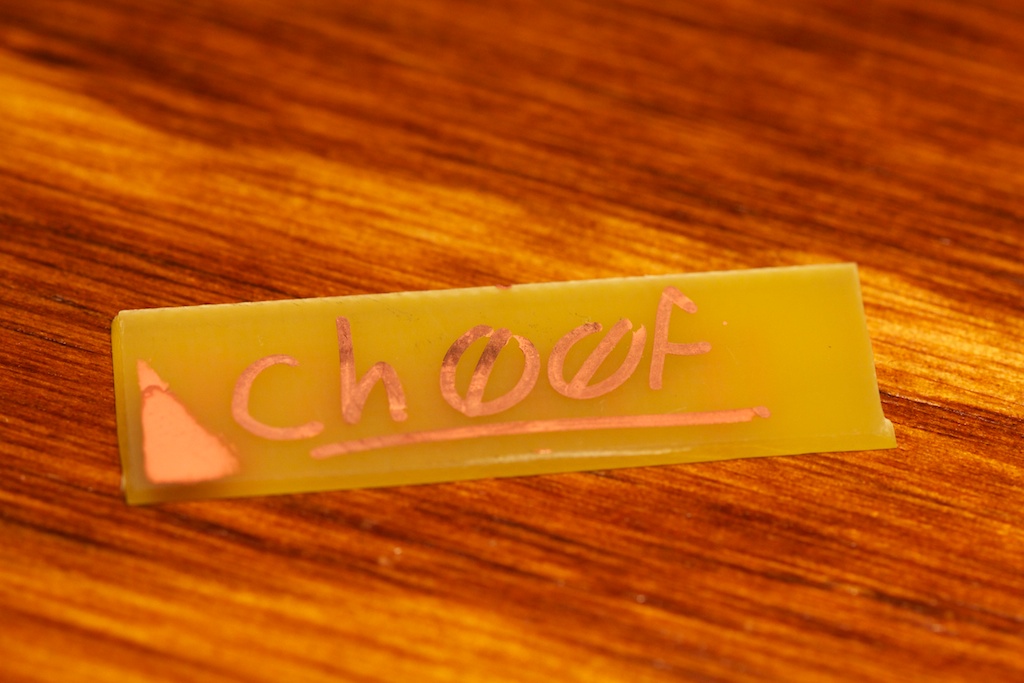
So, after weeks of trying to get this whole PCB etchant business right, I think I’ve finally finally got it.
See?
Now, I know what you’re thinking: “Didn’t you show us a circuit board recently claiming that you had this all figured out before?” Well, I can tell you that I didn’t actually have it then BUT NOW I DO.
This whole tale will require something of a chemistry lesson, so let’s do that first:
A Chemistry Lesson
To make PCB etchant at home, you need just two ingredients:
- “Muriatic Acid” a.k.a. Hydrochloric Acid a.k.a. HCL. This can be purchased from your local hardware store. Home Depot sells a “safer” Muriatic acid that doesn’t work very well. I recommend getting the real deal from Lowe’s. It’s usually marketed as a concrete cleaner.
- Hydrogen Peroxide a.k.a. H2O2. You can pick it up at CVS. It’s actually cheaper than their bottled water.
The recommended concentrations of these two ingredients are 10% HCL and 2% H2O2. This is fairly easy to do because the HCL typically comes in 30% concentration by volume while the H2O2 comes in 3%. Two parts H2O2 to one part HCL gives you just the right combinations of both. Or so I thought…
Making etchant is actually a two-part process. The goal is to create Copper(II) Chloride (CuCl2). As you might have noticed, there is no Copper in either of the above ingredients. If you add Copper, this happens:
H2O2 + 2HCl + Cu -> CuCl2 + 2H20
So, you can either add some Copper you have lying around, or you can just etch a board. The solution will start out clear, but it will turn greenish after you add Copper. This first “starter” etchant will etch extremely quickly, and I’ve found it to be a little too violent resulting in some undercutting and pitting of the traces on my board. When I thought I had it figured out last time, this is the etchant I was using. This was also the etchant I used for this demonstration. You can see that the board isn’t nearly as clean as the picture at the top of this post.
Okay, so moving right along. When you have your CuCl2, you can start etching to your heart’s content, but you have to watch out for a few things. As you use the etchant, it will turn a gross brown color. This is the result of this reaction:
CuCl2 + Cu = 2CuCl
The Copper(I) Chloride is that brown stuff. Now, I haven’t dealt with this yet, but apparently that reaction is reversible to a degree. When your solution starts getting gross, you just need to add some more Oxygen. This can be done by adding a small amount of H2O2 or just bubbling air through the solution. You then get this reaction:
2CuCl + 2HCl + O = 2CuCl2 + 2H2O
And your solution should turn green again.
Your solution also will need to have its HCl supply replenished from time to time, but more on that in my “Stuff I Screwed Up” section below.
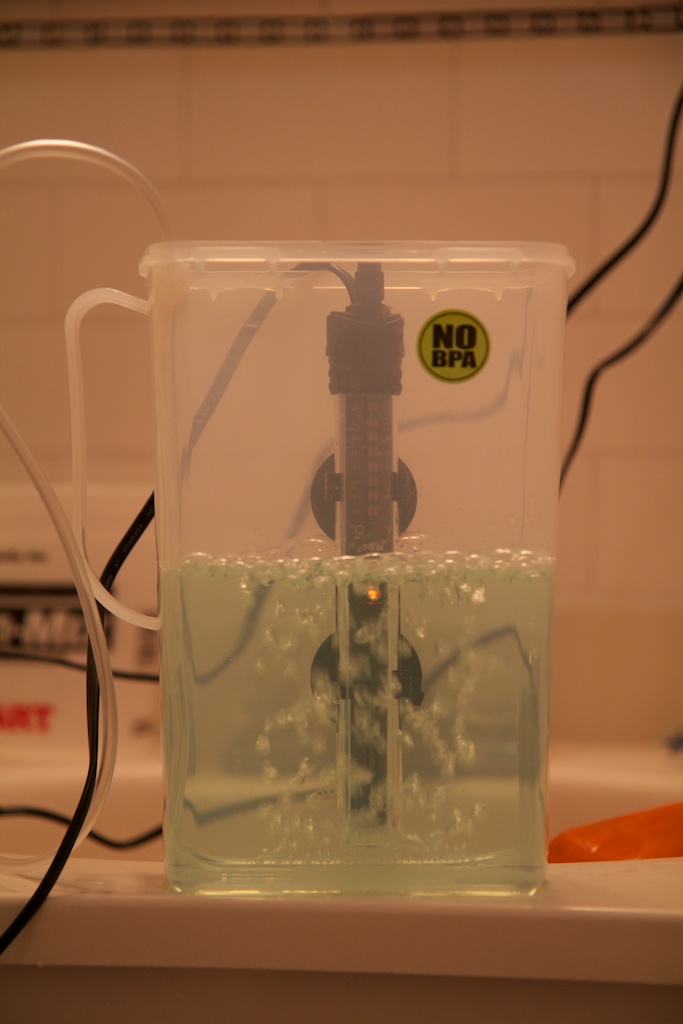
In order to speed along the reaction and get good results, you might want to build an etchant tank. I made mine using a fish tank pump and heater, some rubber hosing, and a tupperware container:
 I drilled some small holes in the hosing, plugged the end of it with glue, and glued it to the bottom of the container with some waterproof silicone sealant.
 I turned the heater up all the way. I’m not sure exactly how hot it gets, but it’s rated for up to 36C. Heat will speed along the reactions, and I’ve heard that you can bring Copper(II) Chloride all the way up to 55C for good results (just be careful!).
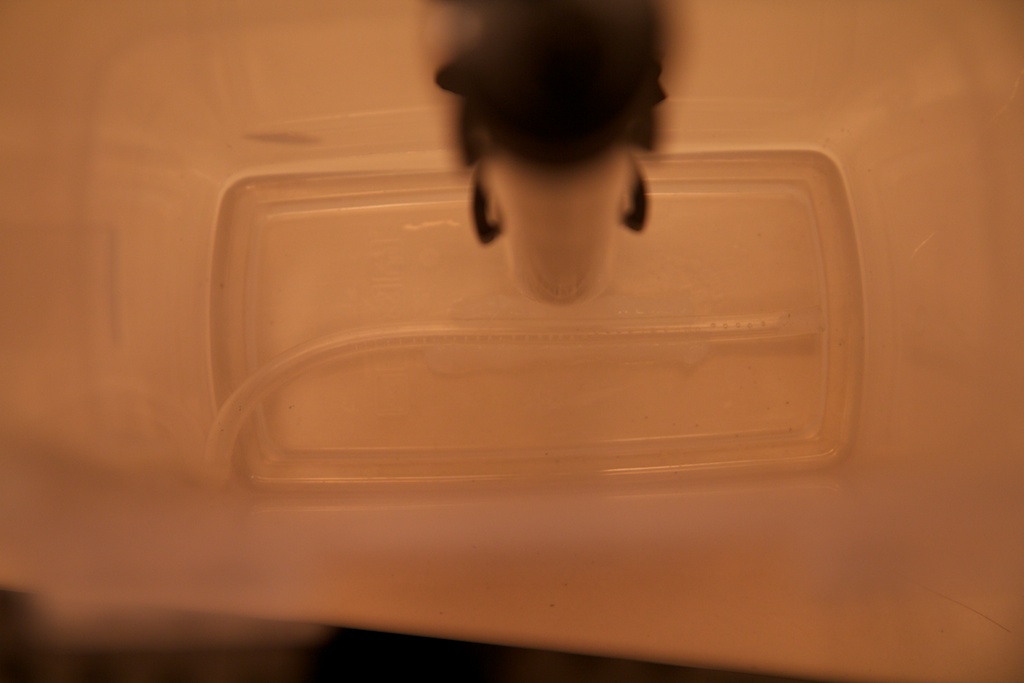
The bubbling action serves two purposes. The bubbles help to add O2 to reverse the CuCl reaction, but they also help agitate the tank. This is very important for an even etch. You can see in the first photo on this post how the corner of the board didn’t etch. This is the corner that was out of the path of rising bubbles. Had I waited a little longer, it all would have etched, but during that time, the finished traces are getting eaten away slowly. I usually suspend the board right in the path of bubbles using some stiff coated wire to hold it in place.
You can see it in its bubbling glory here:
The starter etchant will eat through 1oz. Copper in a matter of minutes (maybe 5-10). Assuming you did everything right, the CuCl2 should take around 45 minutes or so. That’s why it’s definitely a good idea to have a tank that will do all of the agitation for you. You can leave it alone and just check back every few minutes.
So that didn’t seem so hard right? Apparently it was for me. If you care to keep reading, I’ll let you know all of the mistakes I made along the way (and you might even learn something).
Stuff I Screwed Up
If you’re just joining the story, you can see some details of some of my earlier failures here and here. I found that my solutions were working great when they were still the starter solution, but as soon as the color changed, they stopped dissolving Copper. I started to get some really crazy theories about it.
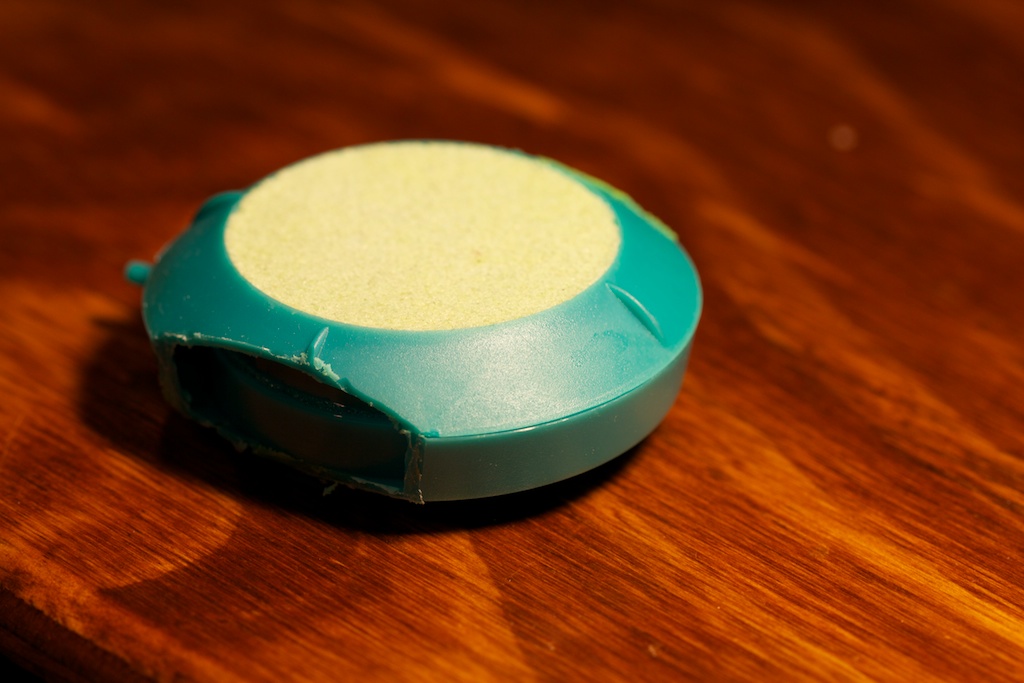
In my original etching tank, I used a fish tank bubbler instead of the rubber hosing. The bubbler is mostly plastic, but the bubbles were formed by forcing air through some kind of porous ceramic element. The element was originally blue in color, but as time wore on, it turned almost whitish green:
 I was convinced that somehow the ceramic was reacting with the etchant and contaminating it (this is probably true, but it wasn’t the cause of my problems).
That wasn’t the problem at all. It was actually a much much cooler issue.
Everyone kept talking about CuCl2 having a greenish color. The lighting isn’t too good in my apartment, so I was never quite sure, but I always had a suspicion that something was up because my solution was most decidedly blue in color. I did some research on the topic and came across this awesome page which gives tons of information about Copper(II) Chloride. Turns out not only engineers are interested in the stuff.
I was originally drawn to the page by this video:
Which describes a reaction of Copper(II) Chloride to changing concentrations of Chlorine ions. When your Copper(II) Chloride is lacking in the Cl- department, the Copper ions will form what’s called a Hexaquacopper complex where one Copper ion combines with six water molecules. Adding more free Cl- ions draws the copper back into CuCl2.
This was exactly my problem! I hadn’t quite added enough HCl, and because HCl provides the magical Cl- ions, my Copper formed into Hexaquacopper and ceased to dissolve anything. Adding more HCl turned my solution a lovely green just like in the video above:
Chemistry is awesome.
Anyway, the moral of the story is: if your solution starts to turn brown, bubble more oxygen in, and if it starts to turn blue, you need to up the HCl.
And there you have it folks! After almost of a month of trial and error, I think I’ve finally got my PCB manufacturing process figured out. I’ll be doing a super awesome writeup of the whole process sometime soon, so stay tuned.


you do:
2CuCl + 2HCl + O = 2CuCl2 + 2H2O
but you can do this instead:
2 CuCl = CuCl2(aq) + Cu , with electrolysis.
So does that mean that my solution wouldn’t become diluted over time? The copper would just precipitate out?
Also, it might be hard to do this because A) the acid would eat my electrodes, and B) I need the bubbles to agitate the solution anyway.
I find that reation(2 CuCl → CuCl2(aq) + Cu) at this page:
h**p://en.wikipedia.org/wiki/Copper-chlorine_cycle
but i never try and think before that was easy, sorry.
I know(but never try) too:
CuCl2 -> Cu(s) + Cl2(g) electrolysis, we don’t need it but will happen if CuCl electrolysis make CuCl2.
2 Cl2(g) + 2 H2O (+ light)→ 4 HCl + O2
and
Cl2(g) + H2O -> HCl2 + HClO
>Becarefull for the Cloride gas and HClO, are a strong poisons
Pingback: The Ch00ftech Guide to PCB Printing | ch00ftech Industries