Small Improvements on the Longboard Wheel Display
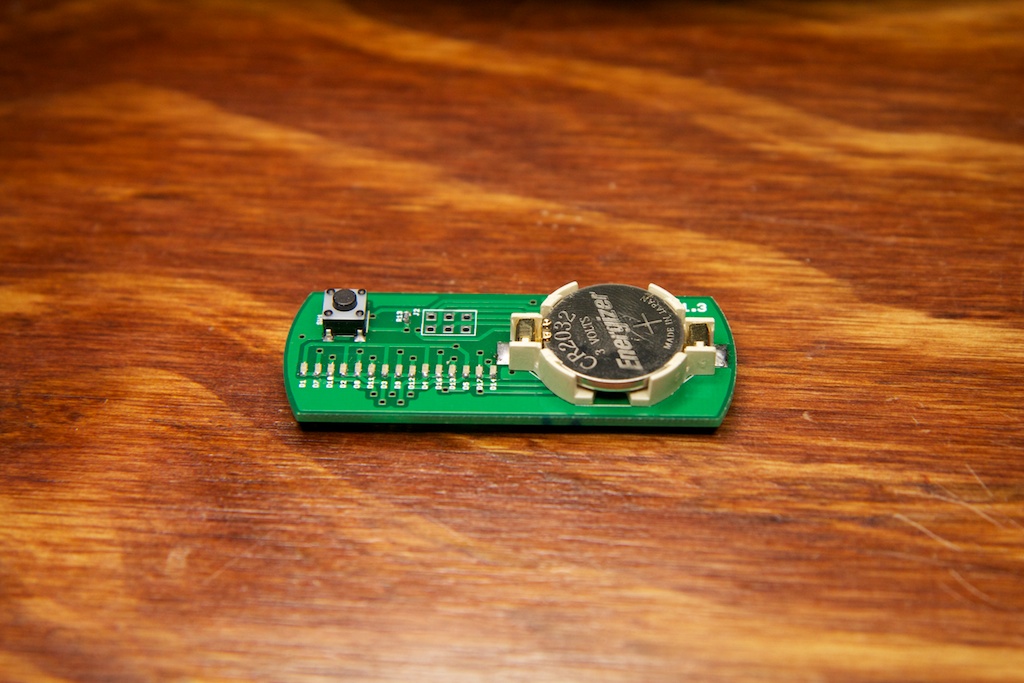
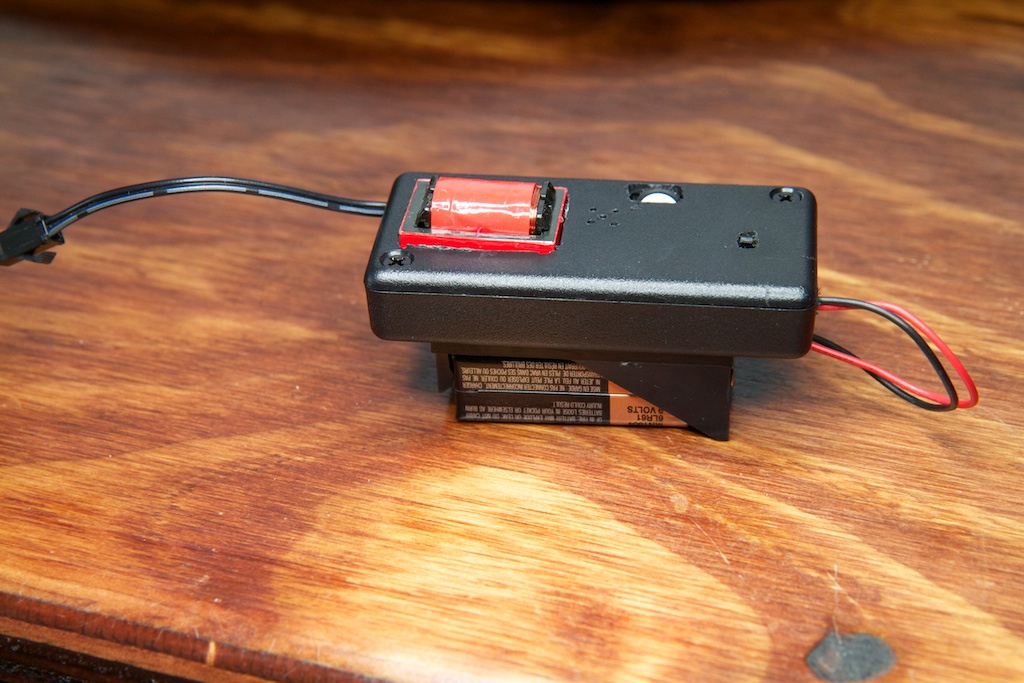
While my Tindie QR Clock fundraiser is underway, I thought I’d take the opportunity to post an update on another project I’m working on.
Remember this guy?
Continue reading
QR Clock Fundraiser is Live! GOGOGO!
Just spent the afternoon setting up my TIndie fundraising campaign. If you’re interested in getting a QR clock for yourself, go preorder now!
Spread the word!
Bigger, Brighter, Cheaper, Whiter
Can I get this thing off my desk now?
After numerous reworks of my EL dimmer circuit, I decided to rebuild the PCB and tidy it up a bit:
I think it turned out great!
Failing to Make a Cooler Business Card
I got tired of my standard paper business cards and despite the fact that I’ve yet to have a reason to hand out the 50 that I originally ordered, I decided to try to upgrade to something a little cooler.
It…uh…yeah…
Sound Reactive EL Panel Dimmer (for real this time)
Let me tell you a tale. 8 months and 18 days ago, on March 25, I was sent an email requesting a commissioned piece of electronic clothing similar to my DJ jacket for a musical performer to wear on stage. I mulled it over for a bit, and came up with the idea of a sound-reactive EL panel dimmer. Unlike most cheap “sound reactive” stuff that just blinks to music, I wanted my dimmer to allow for a more appealing pulsating effect.
EL panels are just like EL wire except instead of having a phosphorescent insulating tube wrapped around the inner wire in a coaxial pair, it has a sheet of the same material placed between two conductive sheets. They operate on the same principle: need 100V-ish AC input at
![]()
2kHz to light up. The only difference is that the panel, giving off more light, draws more power.
EL wires, panels, and other materials don’t seem to be generally well understood by the sources provided to me by the internet. I couldn’t find any good sources explaining how to make a dimmer, so I set out into uncharted water to come up with my own solution.
Almost two months after that email, I had created my first sound-reactive EL panel dimmer. While it was probably one of the most educational projects I’ve worked on, it was also the biggest disaster I’ve ever blogged about. The dimmer didn’t work very well. The panel wasn’t getting bright enough. I decided not to mail the dimmer to my client and instead try to figure out how to improve it (note the FAQ where it says that I don’t work well with deadlines). Since then, I’ve been writing a ton of posts detailing my experiments with EL wire: 1, 2, 3, 4, 5, 6, 7…
Well, I think I FINALLY HAVE IT! Okay, it’s not perfect. There were numerous ugly reworks required to make this work, and it still has some room for improvement, but as a proof of concept, it is totally done. I will probably only need one more short blog post after this to just show off a rebuilt version without all those ugly reworks.
Ch00ftech Goes Open Source!
Over the past year since I started writing this blog, I’ve had a lot of people send me emails asking for help recreating what I’ve made. These questions range from simple help with part numbers to requests for full-on tutorials. One reader went as far as to ask me to redesign something to make it easier for him to copy.
I’ve always been adamantly opposed to writing tutorials as I feel that they usually devolve into just telling the reader what to solder where without exercising any of his or her problem solving skills. This is the same reason I’ve always avoided supplying source code and PCB files on my blog as I fear that someone might try to blanket copy them without learning anything in the process.
That being said, I learned a lot of what I know now by reading others’ source code and looking at their PCB designs. For this reason, I’ve decided to supply these files for my projects (excluding only the miserable failures and the breadboard projects I never documented).
If you look at the bottom of the page for most of my past projects, you will find a link to download a zip file containing (where applicable) source code, Eagle schematic/pcb files, and any supporting software I wrote for the project.
As a warning, I wasn’t very careful about documenting my work for some of my earlier projects, so a lot of these files will have errors due to undocumented changes. The code is also very messy and in many places uncommented. I suspect that blanket copying these projects will not give you the desired result. This is less-so for more recent projects, but regardless, I’m submitting them to you as a reference, not as a user guide.
If you have any specific questions about something you find in one of my files, you can ask me, but don’t be disappointed if the answer is “You’re on your own”. These projects were never designed for release, and I simply don’t have the time to support all of them. If I get enough requests, I might re-open the Ch00ftech forums for inter-user discussion. I will try to document future projects better.
Please do inform me of any egregious errors though (like, if one of the zip files is missing a folder or something). I compiled these files after a 10 hour plane ride from China, so I might have made a mistake here and there.
They are all posted here under the Creative Commons Attribution-NonCommercial 3.0 Unported License. That means that you can use what you find for your personal projects and distribute it freely so long as you give attribution to my site (a link and short explanation of what you used will suffice), but you may not use it for any commercial ventures without my consent.
Happy building!
Introducing the Ch00ftech Store!
So if you gaze up to the top of the page, you’ll notice a new link on my link bar.
I decided to open up a little online shop to sell a few select items. If/when I get my QR clock ready for mass production, you’ll probably be able to buy it there.
For the time being, I’m offering some cool ch00ftech stickers just to work the kinks out of the whole store thing. They’re pretty cool stickers. I highly recommend them.
Longboard Wheel Display
If you’re a resident of Seattle, I highly recommend you check out the Bubble events group. One of their regular events over the summer is something called “Nocturnal Push” where you can get decked out in your best glow gear and cruise the Alki Beach strip on your bike, longboard, or whatever.
That’s why I made this:


